Oh, My Aching Backsplash (Part 1)
In an attempt to be thrifty DIY-ers and prove that we can, in fact, do anything we set our stubborn little minds to, last weekend we attempted to tile our own backsplash. Now we’re not complete tiling novices – we conquered the horizontal plane (no, mom, not the way you’re thinking) by tiling our guest bathroom with beautiful porcelain tiles we bought at a fantastic deal from Restore Warehouse. Unfortunately I wasn’t deep into blogging mode at that point and had only snapped a few photos, but this time I come prepared.

First let me just say that there is a multitude of resources out there that can show you the way to successfully tiling your own beautiful spaghetti sauce-splattered backsplash.
Minus the spaghetti sauce.
Unless you’re me, in which case there will be plenty of sauce.
We didn’t stick to just one source for this particular project – our sources included plenty of websites resulting from a Google search or two as well as a free tiling class at our local Lowe’s. We learned a lot, but we finally realized that at some point we just have to go for it and learn what we can along the way.
That said, let’s begin the torture. Er… tutorial.
Oh and by the way, we obviously aren’t pros at this. I’m sure there are many things we could’ve done differently (aka. better) that a professional tile expert would love to point out. This is simply the step-by-step process of how we did it, lessons we learned, and how we made it out alive (hopefully).
The first step in this entire process was picking out the tile and pattern. I looked around online for inspiration pictures that we both liked, and eventually we settled two different patterns – one for the main walls, and the other for an accent wall behind the stove. Both patterns required some type of rectangular tile, so we knew we could use the same for both. (The main tiles used in a project are called “field tiles”.)
We decided not to have any accent pieces because a) I’m really a simple kind of girl, b) there is already a lot going on in our kitchen, and c) that would’ve brought the complication factor way beyond our comfort level.
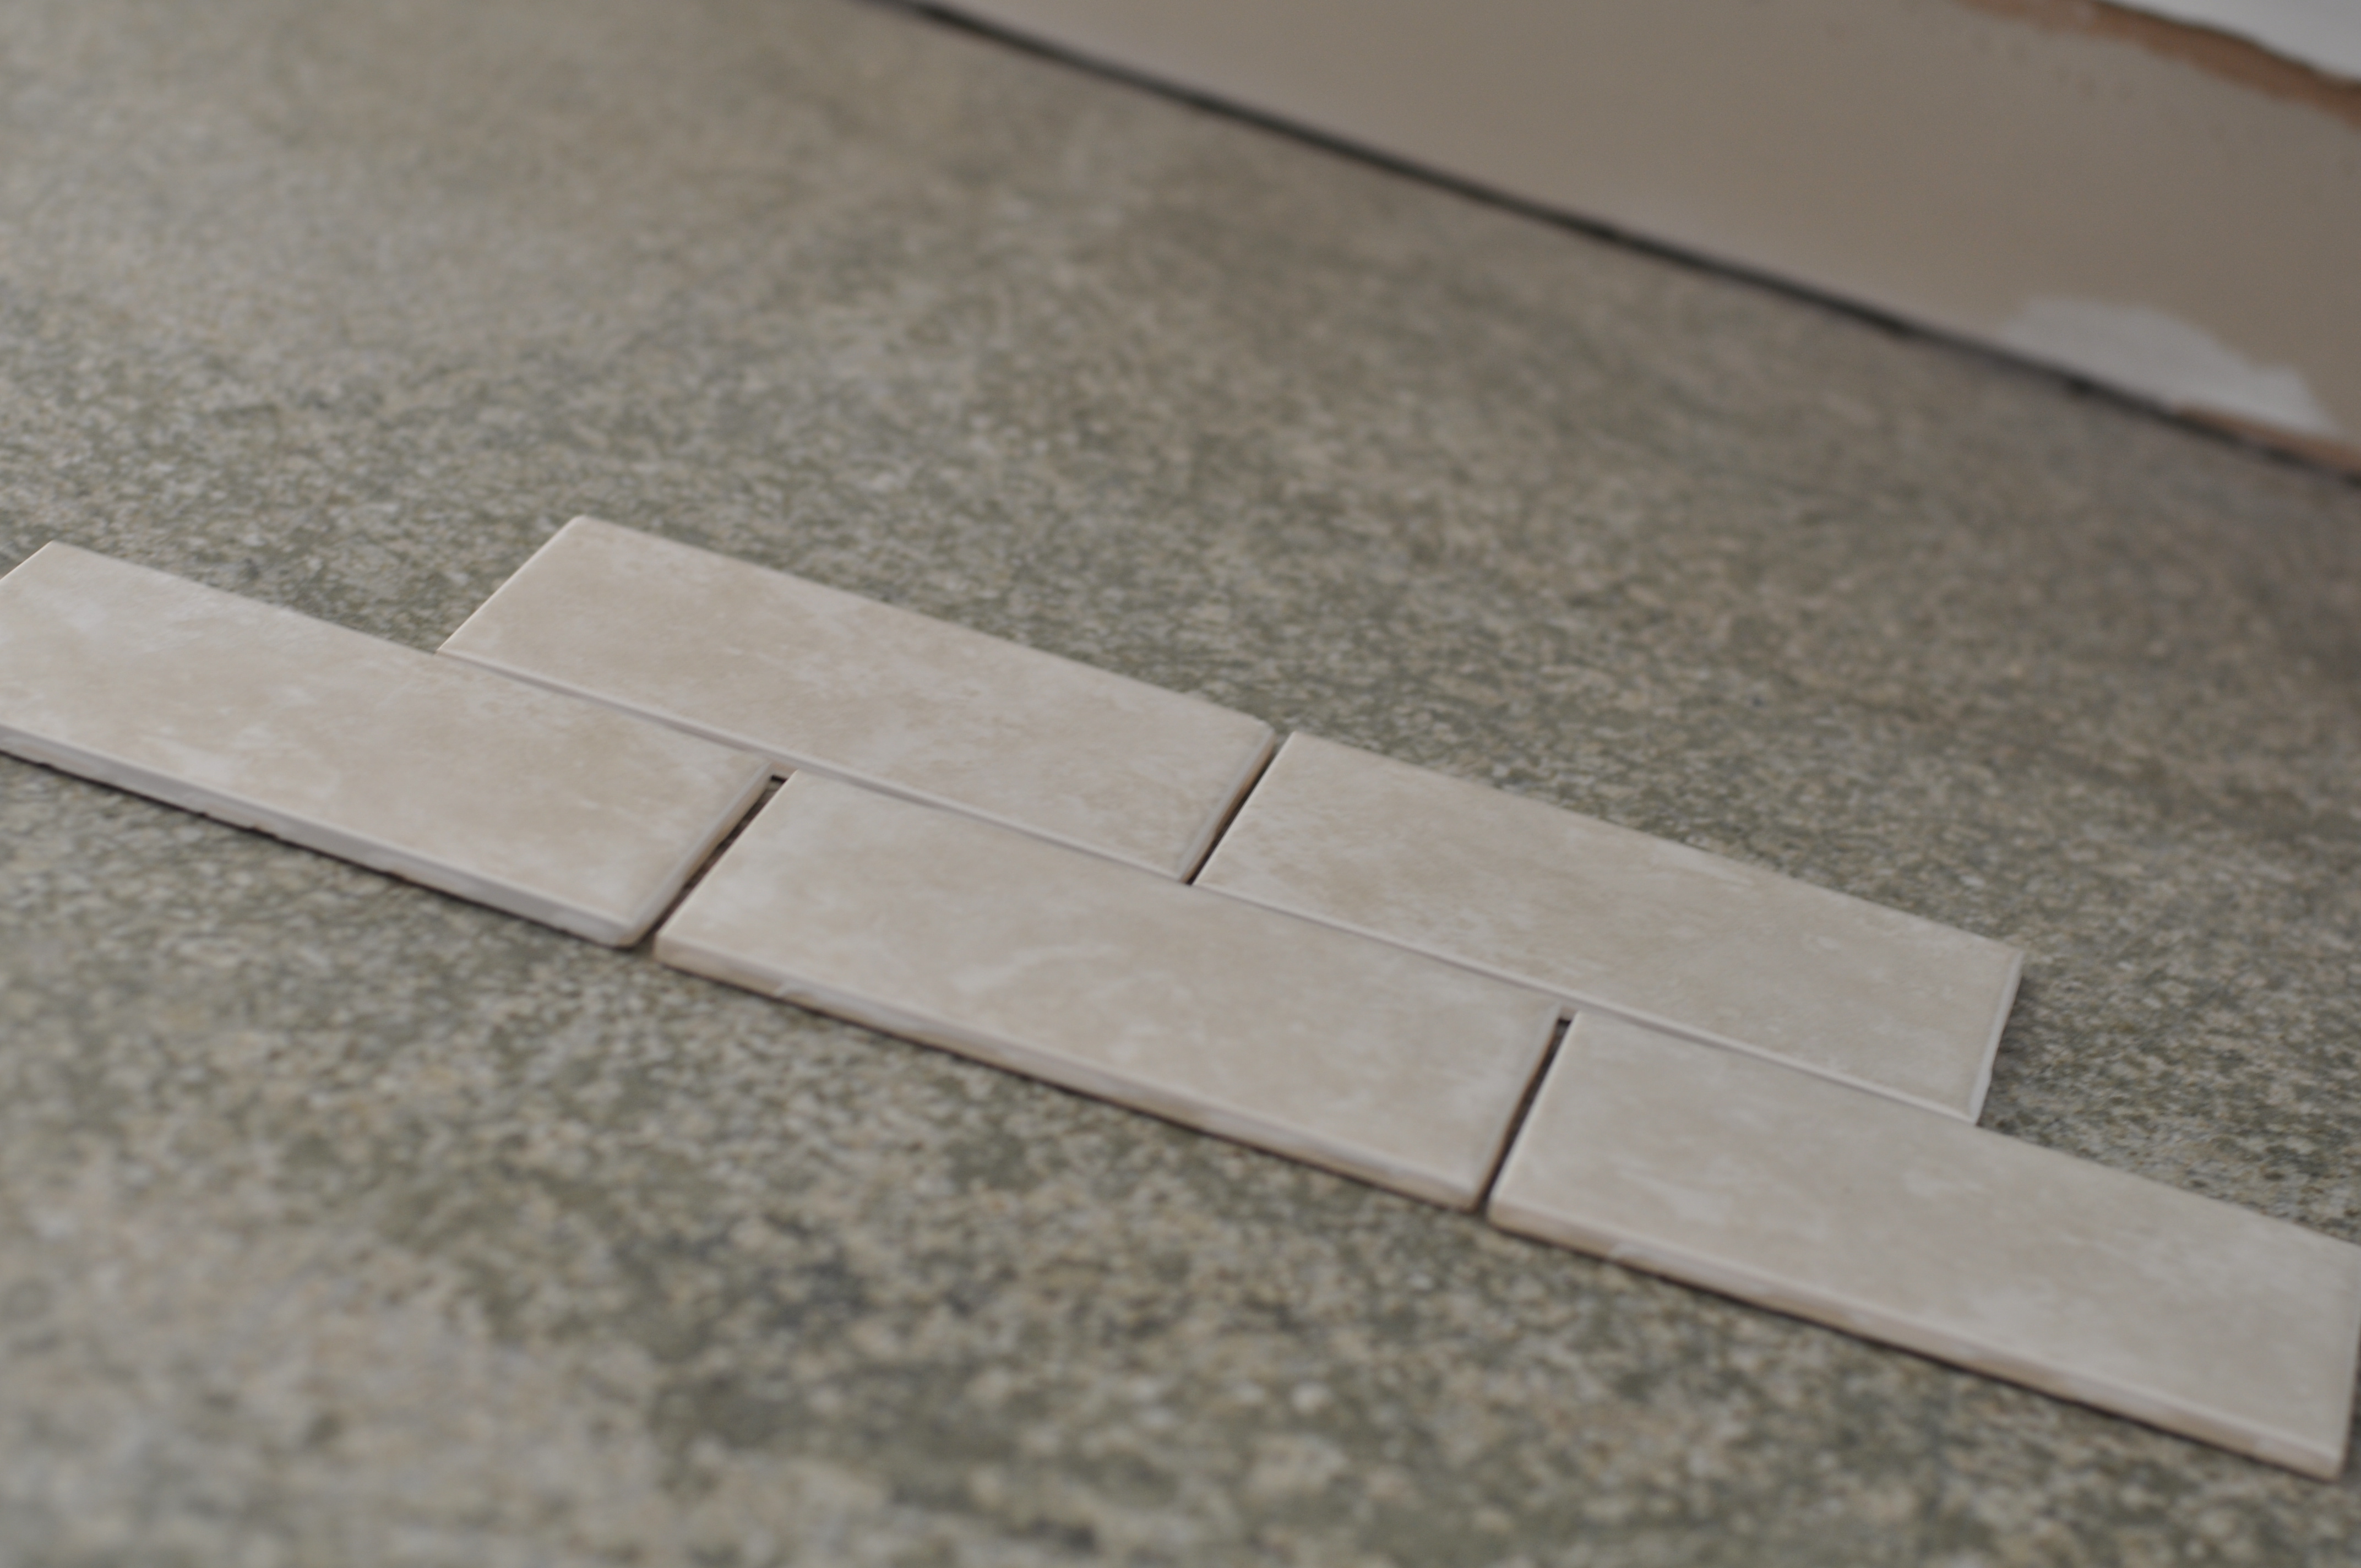
This is the brick (or subway) pattern we decided on for most of the room:

This is the herringbone pattern we decided to tackle behind the stove. Once we got going, it wasn’t as complicated as it looks:

When it came to the type of tile, there were so many choices. Eventually it came down to style, function, and price. But mostly price. We have the hubs to thank for that. We ultimately ended up with these nice little 3”x6” ceramic numbers. At just $2.24 a square foot for the field tiles and $1.74 for each of the trim pieces, they were definitely the most affordable option that still fit into the style of our kitchen.

*Note: The trim pieces are also 3”x6” – the only difference is one of the long edges is rounded off for a finished look.
Next we had to buy our tiles and other supplies. The bonus of picking generic ceramic tiles from a home supply superstore meant this was one-stop shopping for us. You’ll want to buy enough tile to cover the entire square footage of your backsplash plus about 10% to replace those tiles that you might chip, cut incorrectly, break, or otherwise screw up (in our case it was more like 15%).
We broke our fair share of tiles.

To do this, measure (in inches) the width and height of your area and multiply those two numbers. Then divide your total by 144 and you will have your total square footage. We found we had almost 50 square feet to cover!
There are several other supplies you should get if you’re going to tackle this kind of project:
1) Tile saw or tile cutter. Tile saws can be pricey but you can also rent them. (UPDATE 8/11/2014: Looks like one of these puppies actually runs pretty cheap online these days!) They aren’t necessary for ceramic tiles, but you would want to use them for “harder” tile materials like porcelain or stone. You could also use a tile cutter, which is manual and runs around $20. We tried one for this project but quickly gave up because we found it was harder (for us) to get straight lines.


2) Nippers. These are for clipping the tiles into irregular shapes (to fit them around the window sill, for example).

3) Adhesive and Trowel. We used a mastic, which is a pre-mixed adhesive that comes in a tub. It’s convenient because it’s pre-mixed, but this also makes it a bit more expensive. We could also use it over the course of a couple of days, as long as we kept the lid on tight. The alternative is thinset, which is cheaper but you have to mix yourself. The basic rule of thumb is that you should to use thinset anywhere that is likely to get wet (like a shower stall or bathroom floor).
A trowel is the notched tool you use to apply the adhesive to the wall or the back of the tiles. The size of the notches depends on the type of tile you are using, so ask at your local store!

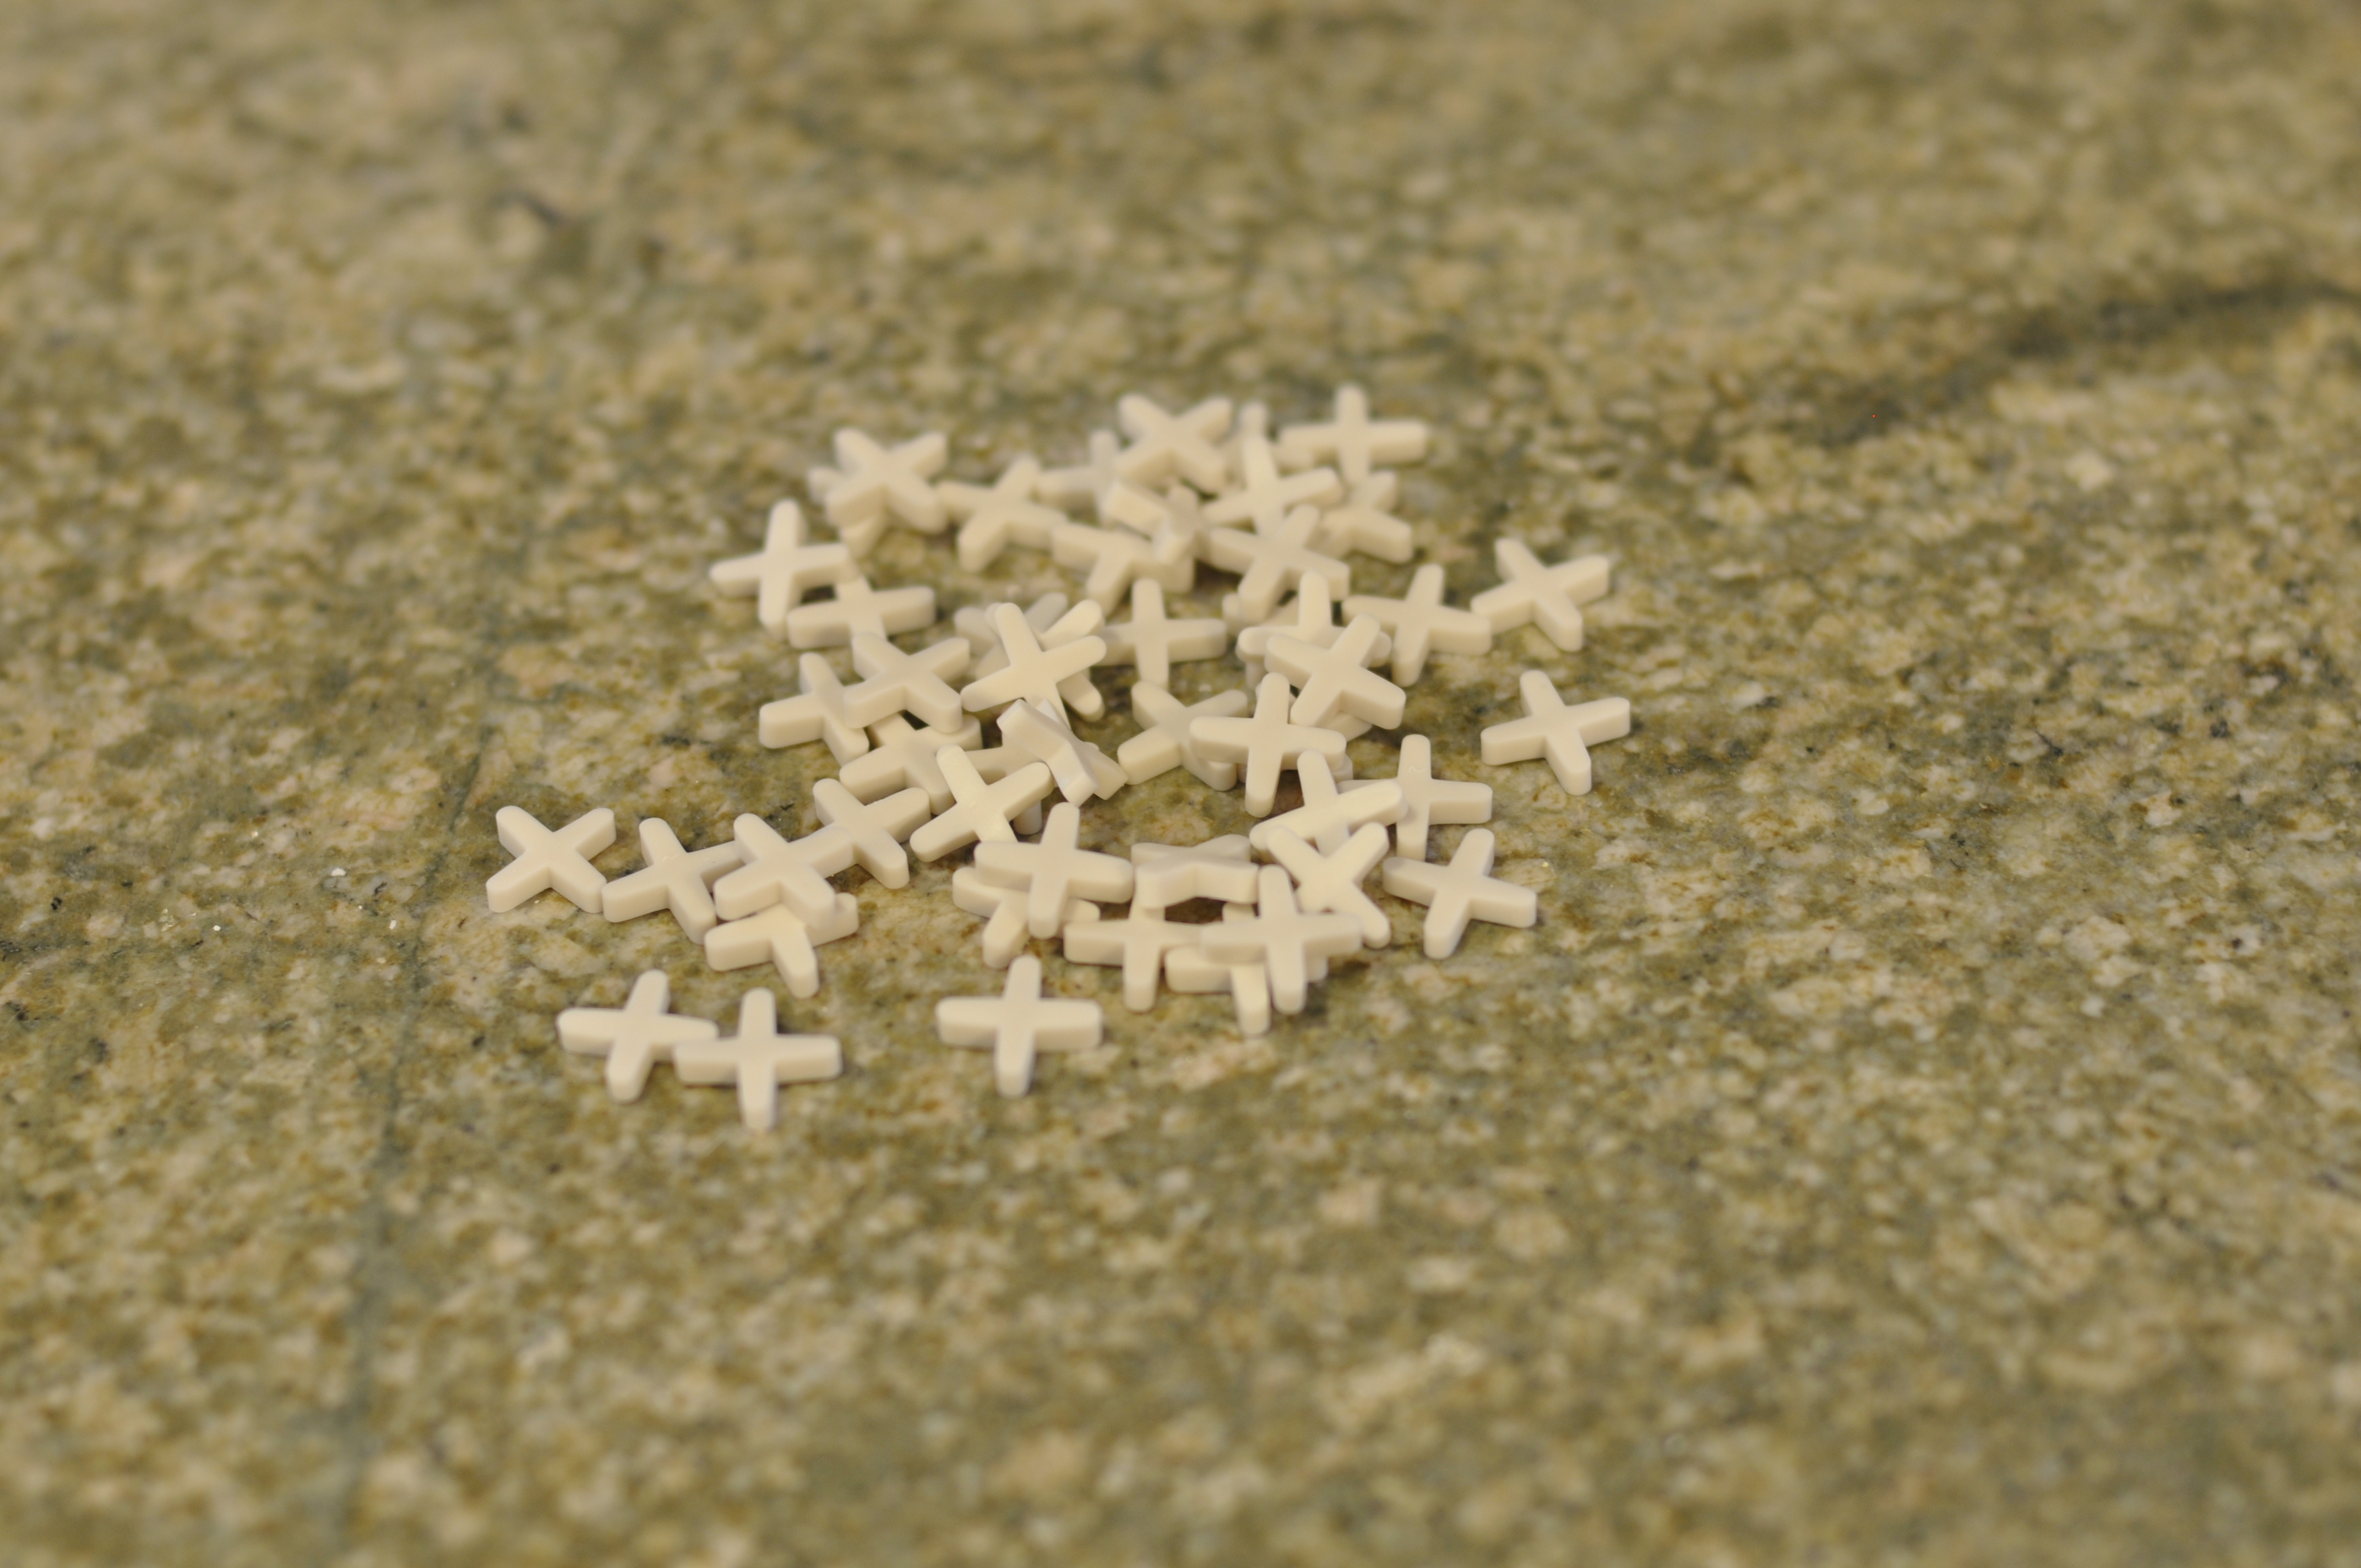
4) Spacers. Tile spacers come in many sizes, and the size you use depends on how wide of a grout line (the space between the tiles) you want. I wanted thinner grout lines for our patterns, so we settled on 1/8″ spacers.

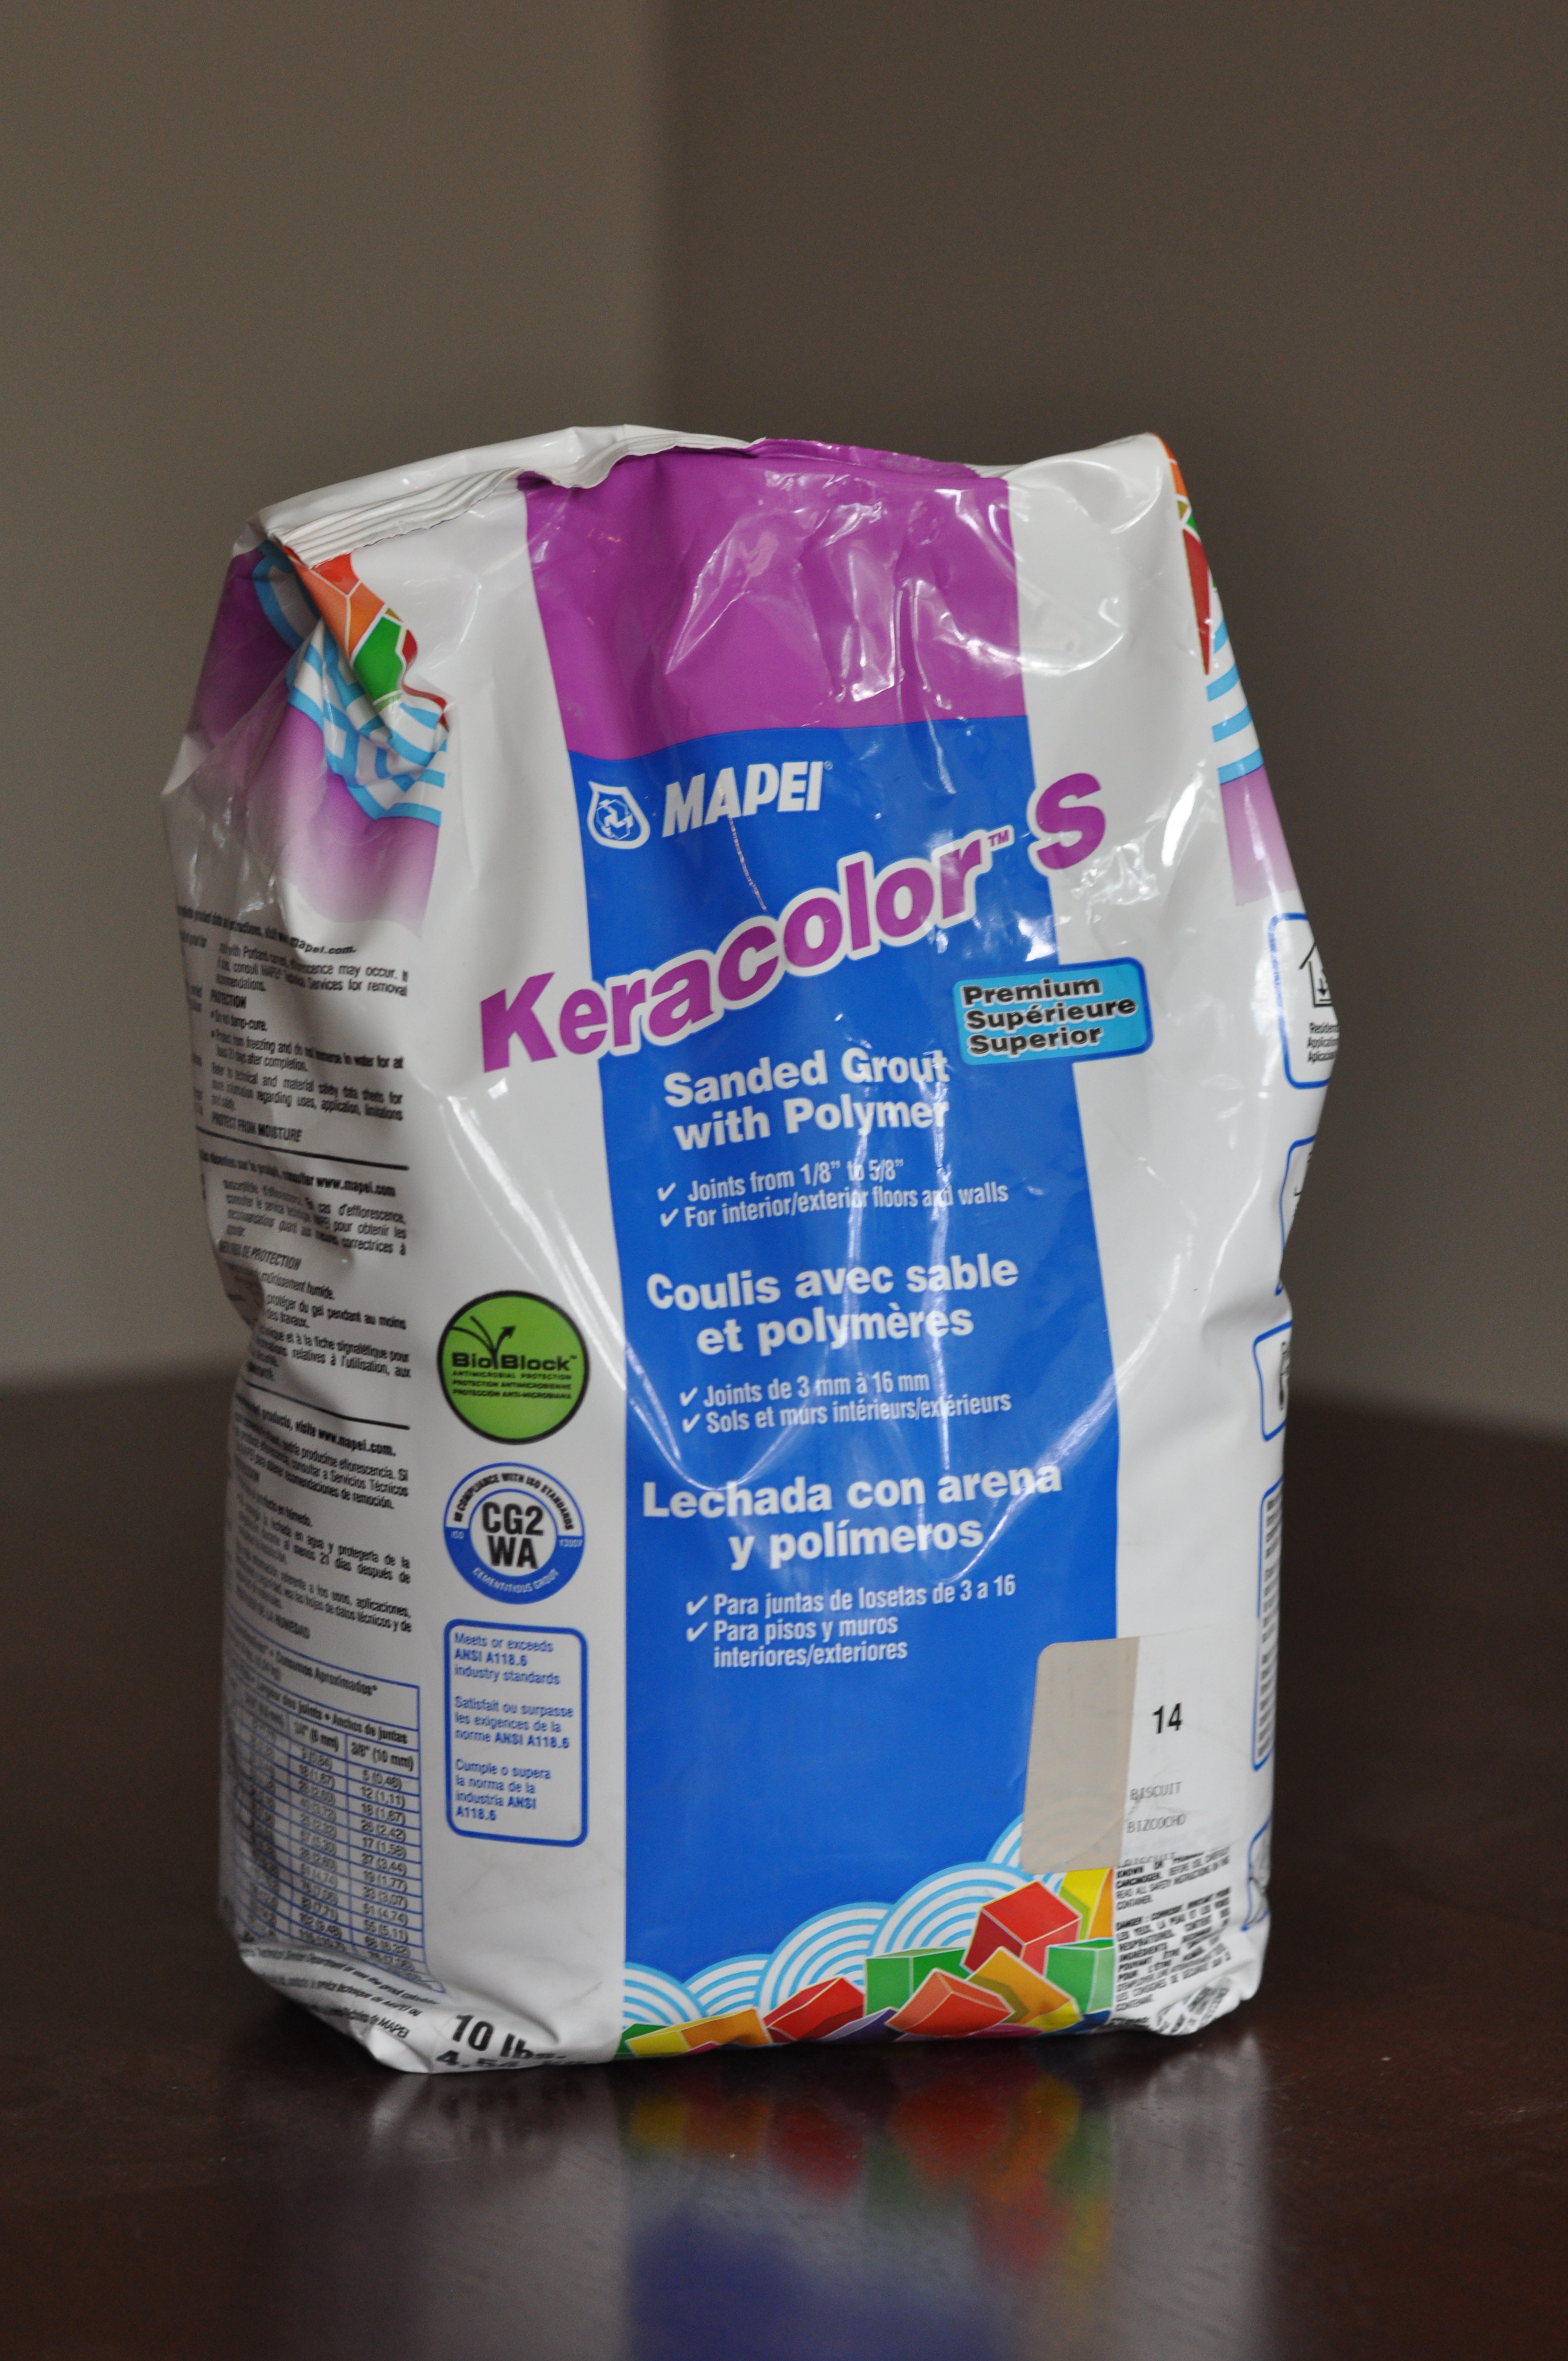
5) Grout. The grout is the stuff that gets applied between the tiles, after they’ve been set on the walls with the mastic or thinset. You can get sanded or un-sanded grout. The general rule is that you should use sanded grout for spaces 1/8″ or wider, and an un-sanded grout for spaces 1/8″ or narrower (because it’s easier to squeeze between the cracks). You can use either sanded or un-sanded for 1/8″ spaces, so we chose sanded grout because it’s a bit easier to work with.

It’s also important to carefully consider the color of your grout. There should be a small square of the color on the bag of grout; HOWEVER, you should look for a grout color sample strip somewhere in the grout aisle. The sample strip contains actual grout samples of each color available for a particular brand, and it will likely be more accurate than the color on the bag. We actually ended up choosing a different grout color than we originally picked out because it looked so different on the sample strip.
The color you choose depends on the look you’re after – a grout that is darker than your field tiles will really emphasize the tile pattern. A much lighter grout will make the tiles themselves stand out, and a grout color that blends in with your tiles will have a very subtle effect to make other elements in your kitchen stand out. We opted for #3.

6) Grout sealer. I don’t know much about grout sealer, except for the fact that I convinced myself we need it to avoid staining our grout with all that spaghetti sauce I plan on splashing on it. We opted for the water-based spray-on stuff because we felt like it would be less toxic fume-wise and easier to apply (maybe we’re just suckers for clever marketing). You can also get the kind that you wipe on with a sponge.

7) Caulk. You will need to put some type of caulk between the tiles and the counter top (and any other exposed tile edges) to finish everything off. In most cases you will want to match your caulk to your grout if at all possible. I don’t have a picture yet, because I haven’t bought any! This is essential for completing the project.
8) Another thing (almost) essential for completing the project is a tile buddy. It’s a wonder our various tile projects haven’t culminated in divorce, but the stress, arguments and mess-ups all seem far away when you’re finally done and admiring your handiwork over a cold beer. Or two.
This is my tile buddy:

He’s a good buddy indeed.

That’s it! Next time we’ll get to the fun part – the part where we get dirty.
You might also want to check out:
How to Tile A Backsplash (Part 2)
How to Tile A Backplash (Part 3)

Comments
Can we share tile buddies? :)
We already do. ;)
[…] How to Tile A Backsplash. […]
[…] we’ve bought all of our supplies, committed to a pattern, and bolstered our confidence. Sort […]
[…] right, friends. We have finally finished our backsplash. The one I told you about both here and […]
[…] already written a super comprehensive tutorial on installing a tile backsplash, so check that out if you need more details. It’s a bit […]