Bed of Bushes
Now that title sounds just a tad dirty, doesn’t it? Well it’s fitting, because this is a dirty post.
I dare you to try to get out of this project with clean clothes. I triple dog dare you. (Name that movie.)
Last weekend was chalk full of mini-projects, and one of the most gratifying (for me) was the complete overhaul of the nasty old weed bed we used to have in front of our porch.

Like oh-so-many incomplete projects around here, this one started the weekend-before-last, when I walked outside to get the mail and realized I couldn’t walk past that hideous patch of sand and weeds ever. again.
(Okay, I’m lying. It actually started when we moved in 3 years ago and I almost immediately went out and bought 5 semi-expensive large-ish shrubs and stuck them in the sand. Remarkably, they lasted a full year before they succumbed to the less-than-friendly elements. It’s taken awhile for me to emotionally deal with that loss and build up the nerve to plant something else.)
So back to the weekend-before-last. I took one glance at that fugly, weed-infested bed and realized that it needed to no longer be a part of my life. I had moved on, and so should it.
(Can someone please tell me, by the way, why the weeds would grow lush and verdant with no help from me, while my lovingly-nurtured and *cough*expensive*cough* bushes died a slow and painful death?)
Before I knew it, I was on my hands and knees in the dirt yanking pesky weeds and errant grass out of the sandy soil by the handful.
Hormonal much?
It didn’t take the hubs long to realize I might need some help.
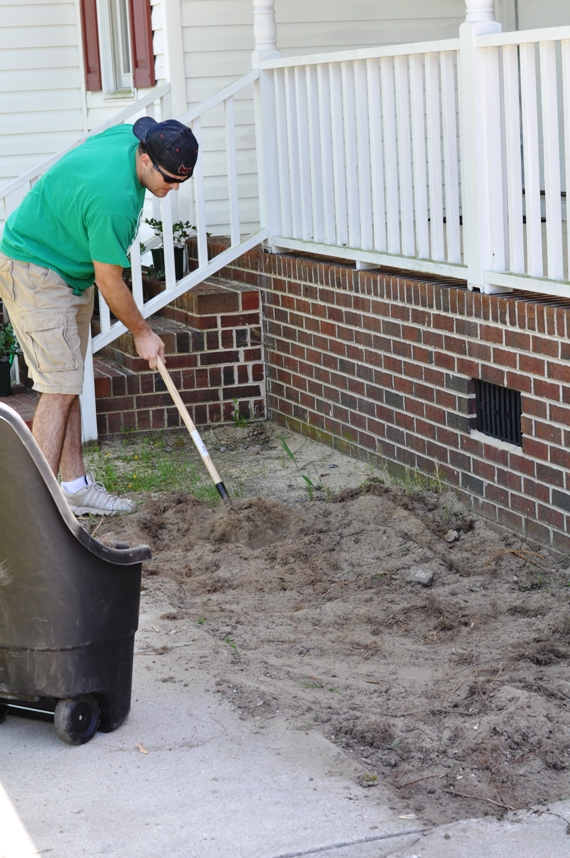
Lucky for me, he came properly equipped.

I meant with a hoe, jeez. Get your mind out of the gutter.
I said a hoe not a ho. Seriously, what is wrong with you??
Since there were so many unwanted weeds, grasses, and roots, we figured the best idea would be to basically remove the entire top layer of soil. We hauled it to the back yard and threw it into a pit the previous owners had dug to create a sand pit for putting practice. It had no sand. From this, I can derive 2 things:
1) They were as bad at finishing projects as we are.
2) They must have sucked at golf.
Since we hadn’t exactly planned on starting this project that weekend, we called it quits on the physical labor after clearing the bed. We did, however, head out to a garden center the next day to pick up the following supplies:
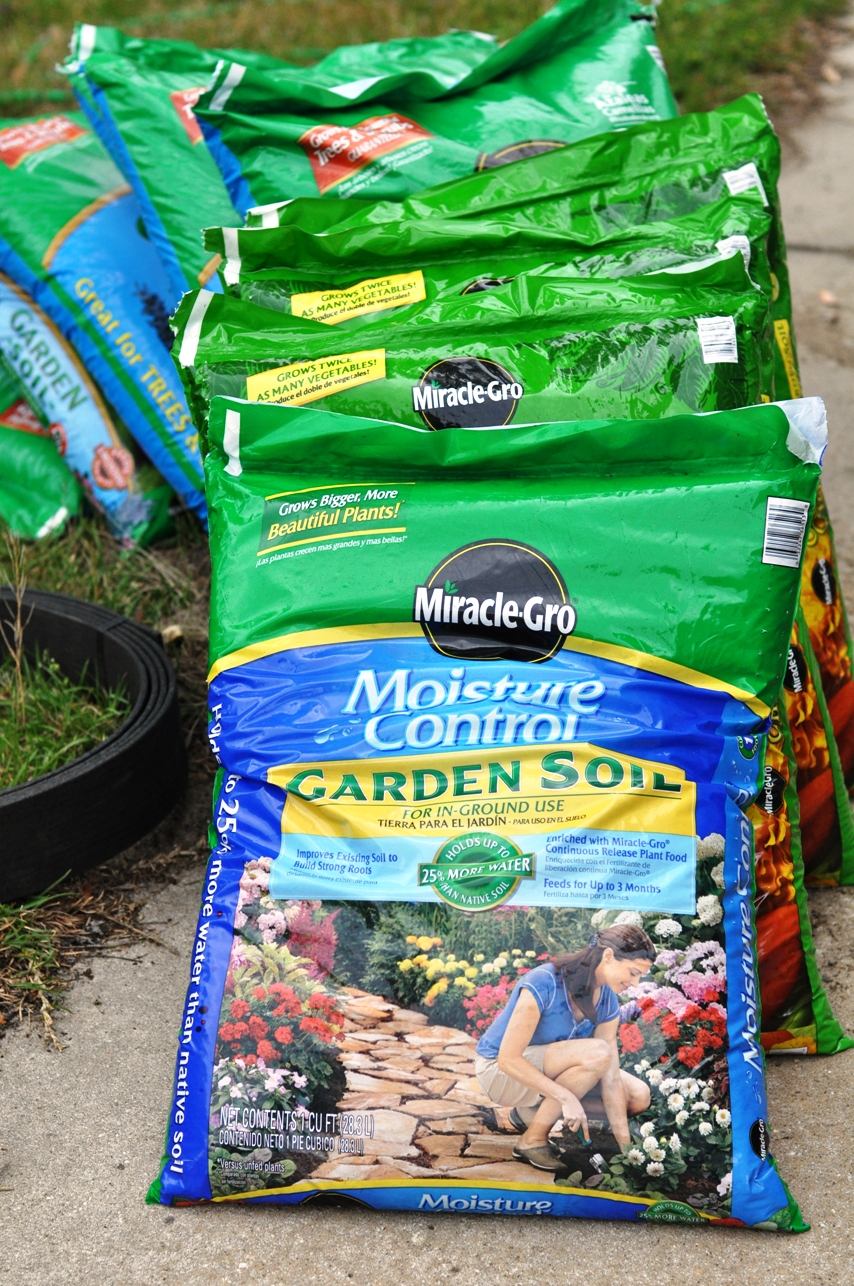
Several bags of soil for shrubs (the bag in front is leftover from our veggie garden – we threw some of those into the mix as well).
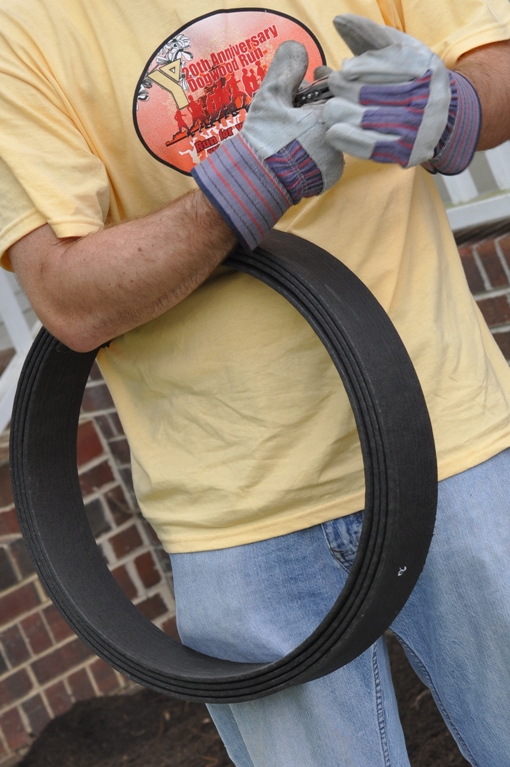
A roll of edger made from recycled materials.
Some permeable garden bed liner to (hopefully) prevent weeds from popping through (sorry, no pic).
And lots and lots of mulch.

This past Saturday, we got to work.
First, we mixed our new, plant-friendly soil in with our old, crappy, sandy-McCrapperson soil.

(Did anyone else just get the Ebony and Ivory song stuck in their head?)
And we raked it smooth.

Capone wished he could help. Can you see him?

Next it was time to cut open the edger.
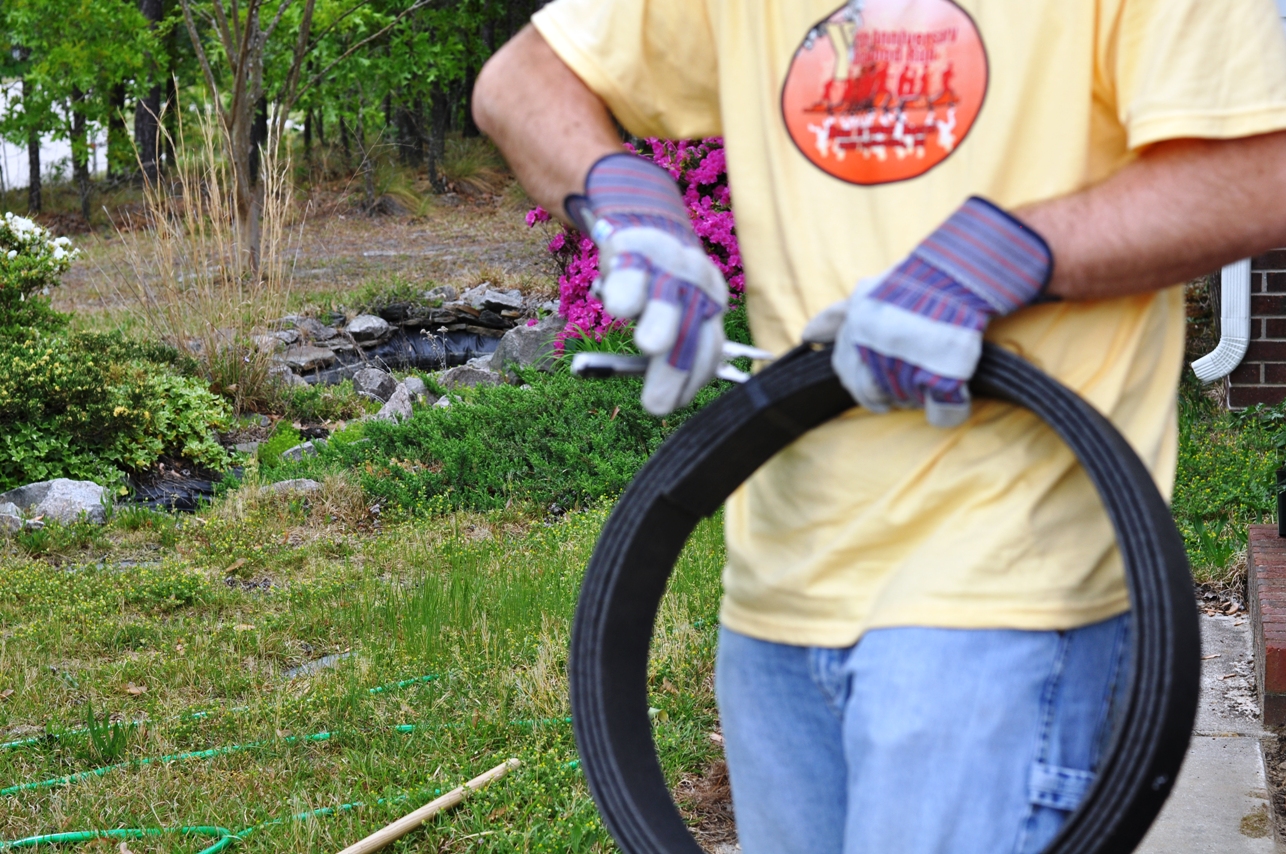
And dig a path along the edge in which to lay it.

At this point I came up with some girly excuse or another in order to go inside for a bit, so I didn’t get a picture of the hubs installing the edger or the bed lining.
I did, however, get a picture of this.

Caughtcha!
When I went back out, the hubs was laying out the plants to see where we should put them. We actually ended up reversing this, with 4 in the back and 3 in the front.
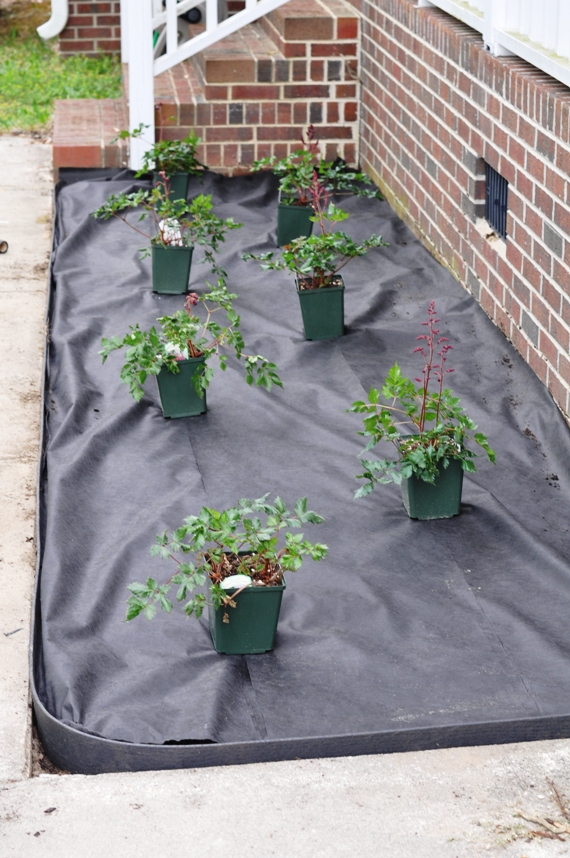
When you get them in the desired locations, simply cut an “X” through the lining (notice the hubs’ signature look of concentration)…

Dig a hole…

Loosen the potting soil from around your plant (be careful not to damage those roots!)…
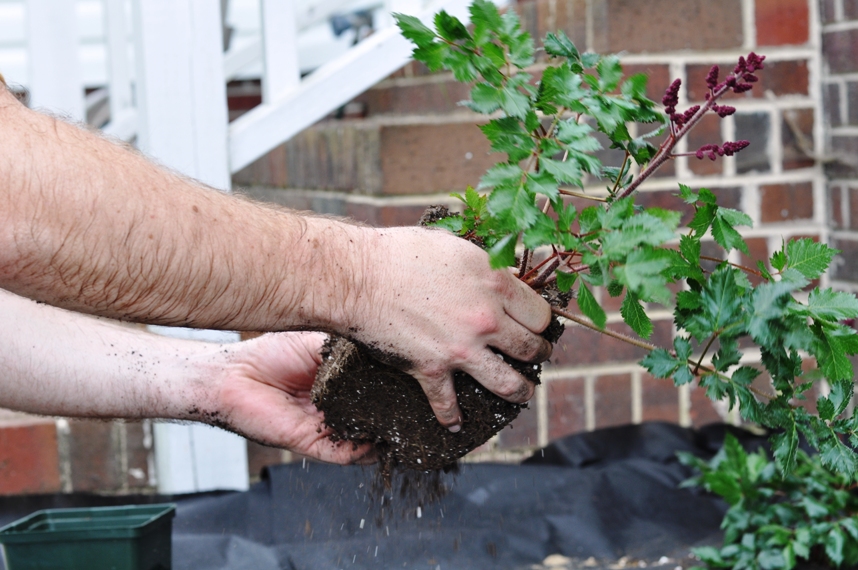
…and pop ’em in!

Once you get all the plants in, it’s time to add the mulch. The hubs bought mulch that was dyed red, but I’d recommend going with un-dyed mulch for eco-friendly reasons. But when it comes to an eco vs. ego situation, I decided not to say anything. This time. But when it comes time to replace? We’re going au naturale. Rocks would be another option. While more expensive, they would last a lot longer. Like a million years longer.

Once you smooth out all your mulch, the final step is to water. Water them babies, but good.

And that’s it! When you’re all done, it’s time to step back and admire the hubs’ your handiwork.
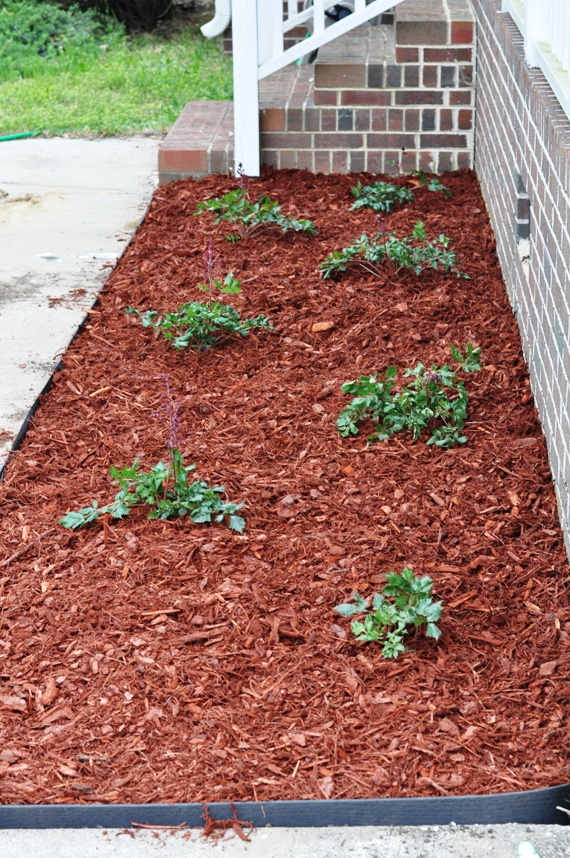
Then quickly run back inside so you don’t have to help clean up the mess.

Comments
“A Christmas Story” is that movie!
I struggle with proper planting soil here in Maine. Not that I’m whining about living next to the ocean, but it would be nice to have some real dirt mixed in with rocky sand!
You’re right about the movie!
I guess those of us with poor soil just need to suck it up and pay for the good stuff. We’re also going to start composting this summer, so maybe by next year that will help a bit.
I’d love to get up to see that part of the country. You have one thing I really, really, really would love to have – fresh seafood. Mmmmm!
Wow! Nice job, Justin–I mean Katie! That looks awesome! (Really, Justin, you did a great job!)
He says thanks. :)
Great work–I love this stuff. Can I make a suggestion? The three most important elements of planting are color, texture and height. I can’t tell what you planted in that bed, but try to find things are are different color, texture and height. It will make your plantings much more interesting. To make it cheaper, find friends and split some of their existing plants. There are a lot of plants you can do this with. Good luck!
Kevin, thanks for the much-welcome (and much-needed) advice! We planted with all the same shrub (Astilbe??), but I think we will be left with room to improve over the next couple years. I’m not sure how big they will get, but I’m thinking we’ll have room to maybe plant a shorter border of flowers around the front and side, and possibly some tall grasses or something in the back…? That area doesn’t get a lot of sun, so we thought we’d start with baby-steps to try to get something to grow.
Will you come help us landscape our back yard?? :)
I would love to–I am in the midst of re-landscaping my yard! I love Astilbes–very easy to grow and you can split them easily in a few years. They don’t get very big (maybe 18″ tall) and have beautiful flowered spikes (colors vary depending upon what you get). You will definitely have room for more stuff. You can even mix annuals in this year to add some color etc. Good luck