The Missing Link
**When I first posted Part 3 of how to tile a backsplash, I COMPLETELY FORGOT to show you how we grouted our tiles. I just magically skipped from letting the mastic dry behind the tiles in Part 2 to sealing the grout in Part 3.**
Will you ever forgive me??
Here is the missing link that I have also inserted into the Part 3 post. What a flub. Maybe it’s not such a bad thing that I broke my favorite wine glass…?
Anyway, I talked about picking your grout in Part 1.
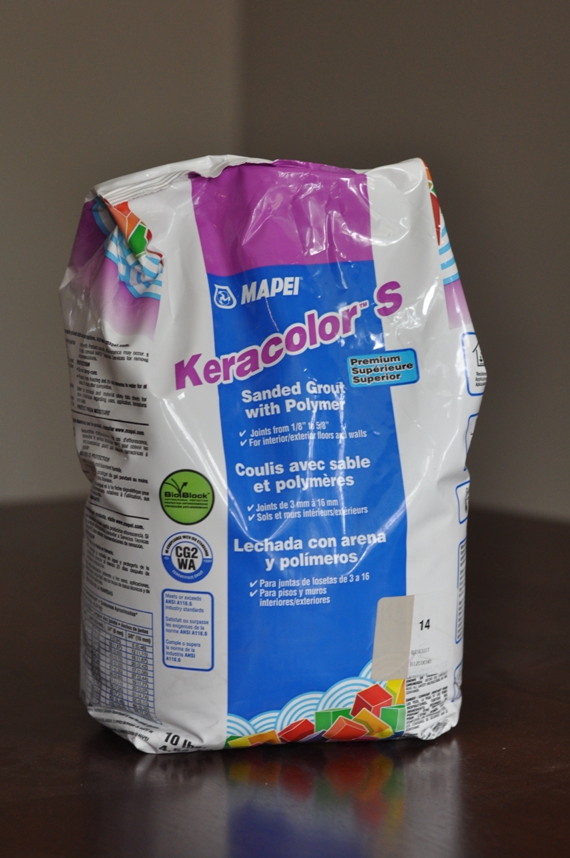
We used a sanded grout that closely matches our tile color. Because we have so many other “expressive” elements going on in the kitchen (busy floors and busy granite), we wanted the backsplash to blend into the background.

Following the directions on your bag of grout, mix it with water.


We used this tool that you stick on a drill to help with the mixing.

Slowly add water as necessary while you mix. You should end up with something close to the consistency of peanut butter.

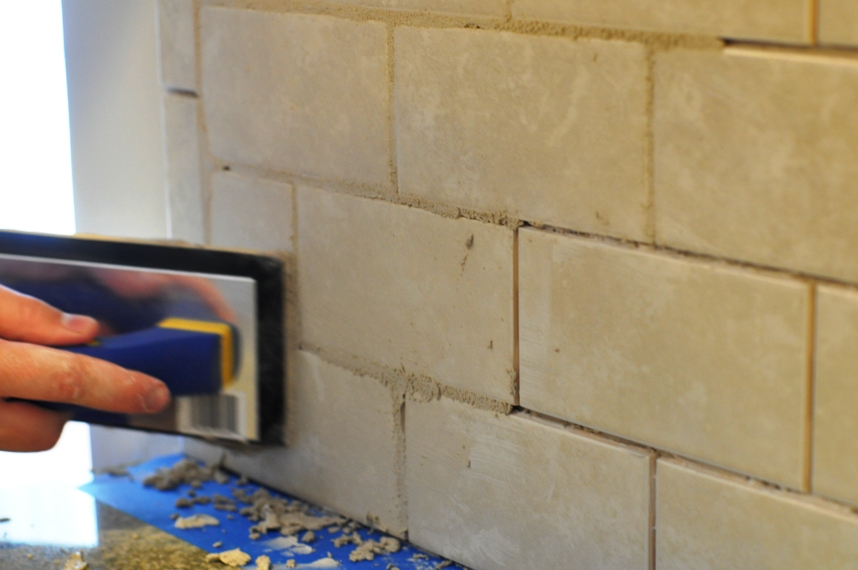
Once your grout is mixed, use a tool called a grout float to press the mixture into the spaces between the tiles. Don’t worry about getting the grout on the tops of the tiles – it’s pretty much unavoidable.

Make sure you really press it in there good. This is going to completely finish off the look of the backsplash, and you don’t want it cracking later.

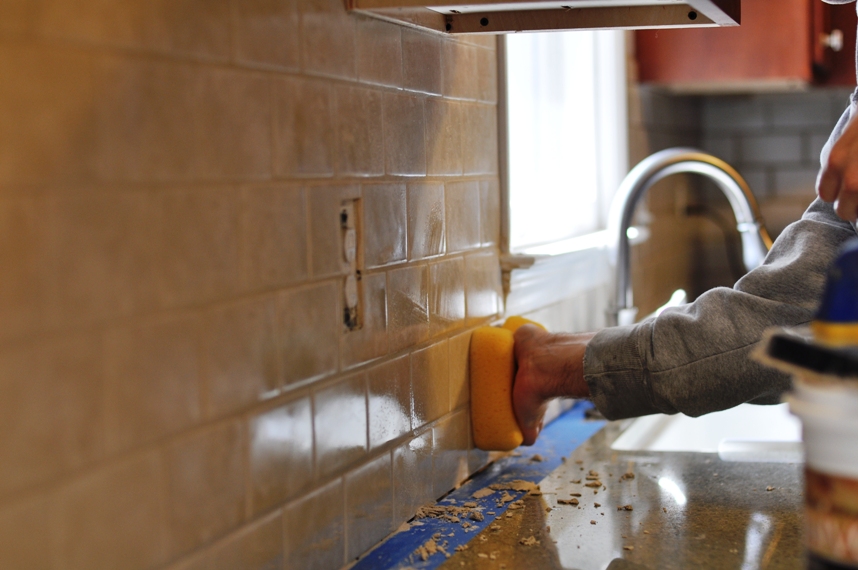
Give the grout enough time to start setting before you sponge it off your tiles – but don’t wait so long that it’s difficult to wipe away! We worked in 4-5′ sections, adding the grout and then sponging away the excess.

And that’s all there is to grouting! You might think you’re done at this point.
You will really want to be done at this point. Unfortunately, there are just a couple more finishing touches.
Finishing touches I tell you about here.
I’m sorry for my negligence. You may now return to your regularly scheduled program.
