Let There Be (Homemade) Light. And Also A Giveaway.
So.
You want the bad news, the bad news, or the bad news?
The bad news is that I have to get a root canal.
And the bad news is that I have to get a crown.
And the bad news is that I can’t do either of these things before we head to Chicago, which means that the good news is that I get to be high on Vicodin for most of the trip.
(Or maybe that’s bad news, too.)
Also.
I was hoping to have the painted kitchen cabinets ready to share with you, but apparently the polyurethane that was recommended to me by a very trusted advisor required the promise of my first-born child and the health of my back upper-right molar to procure. Unfortunately for them, there’s a really good chance I won’t be bearing children.
Suckers.
Unfortunately for me, there’s apparently been a giant cavity forming underneath a very old filling, and the subsequent drilling and new filling was too close to the nerve in my tooth, and now I’m paying the ultimate price in the form of a 60/40 insurance split and a rollover that happened last month.
But whatever.
It’s cool.
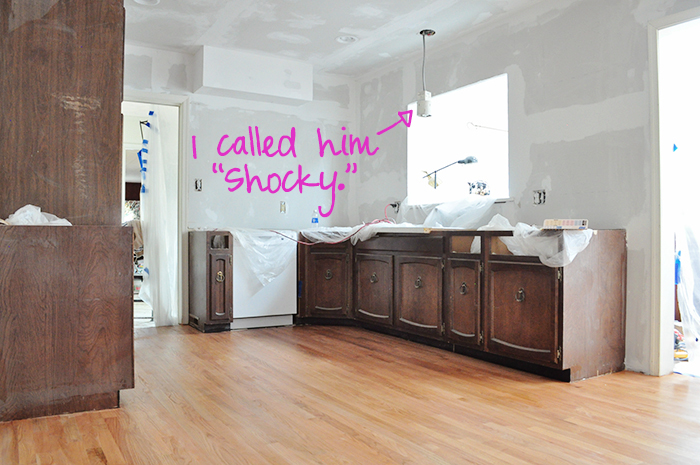
Because the good news is that I have a new-old pendant light hanging over the sink in the kitchen, where for literal months we’ve had this old, dangling can light:
And the other good news is that you can have one, too.
This could not be easier.
1. Find a bowl you like. I found mine (around 8 1/2″ diameter) on Etsy, but you can find them all kinds of places. Just make sure you’re not purchasing a priceless collectible with the intention of drilling a hole through the bottom.
The same could be said for teeth.
2. Buy a pendant light kit. They’re relatively inexpensive and come in either the hardwire kind or the kind that plugs into an outlet. Since we already had a can light in place where we wanted to hang this, we bought the hardwire kit. Ours is the oil-rubbed bronze finish, but this one also comes in white, nickel, and antique brass.
3. Trace the plastic lightbulb-holding part of your pendant kit (I’m up on all the technical terms here) in the center of the base of the bowl. I eyeballed it.
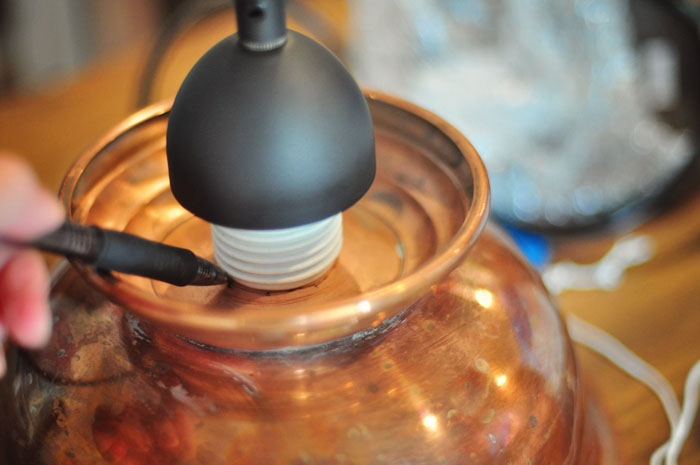
Let’s pretend I actually cleaned this bowl before turning it into a pendant shade, mmkay?
4. Use a big, round, sharp, toothy, drill bit thingermajigger (doesn’t everyone have one?) to saw a round hole roughly the size of the one you traced in the bottom of your bowl. We used a slightly bigger thingermajigger to make sure the bulb-holding part would fit through it, but also to give it enough wiggle room so we could center it. You just want to make sure the hole isn’t so big that the darker plastic “cap” part fits through.
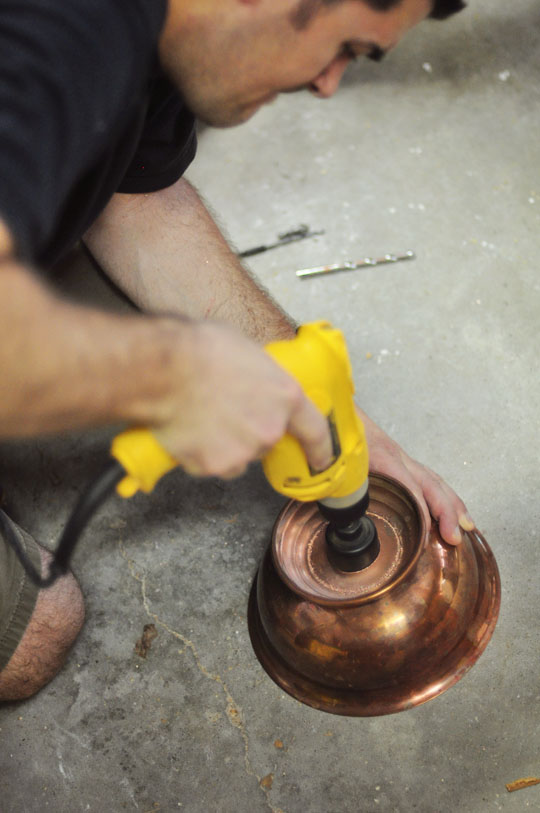
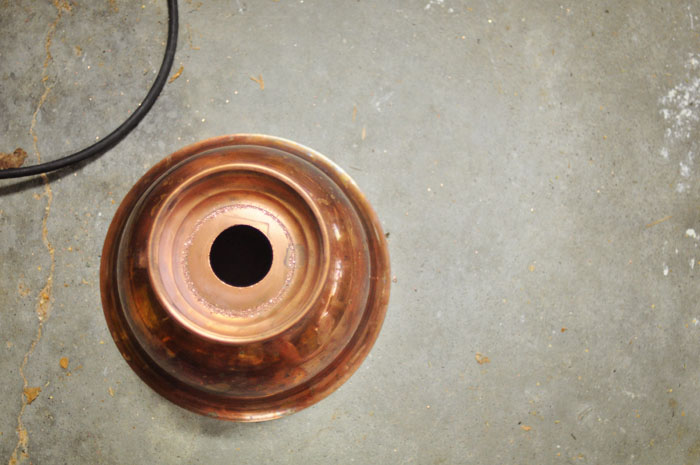
5. Stick the lightbulb-holding part through the hole, and then secure the little plastic ring thingie underneath.
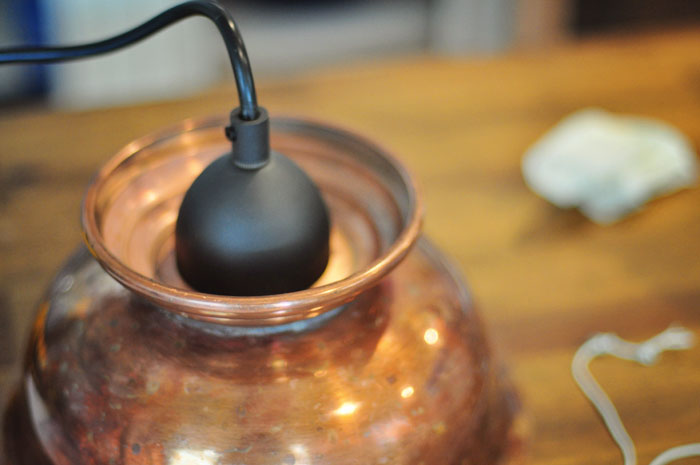
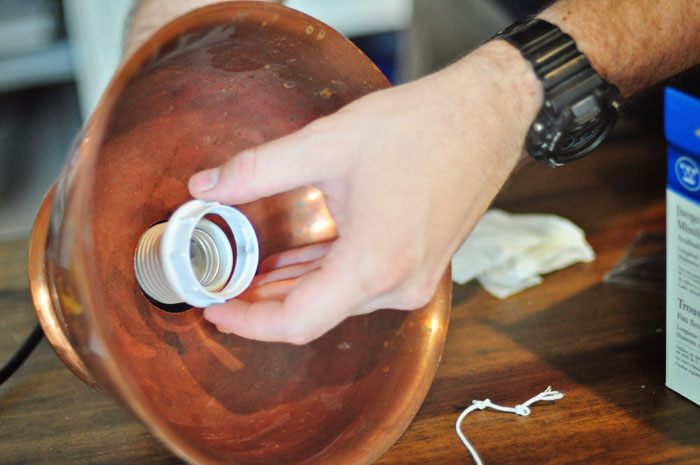
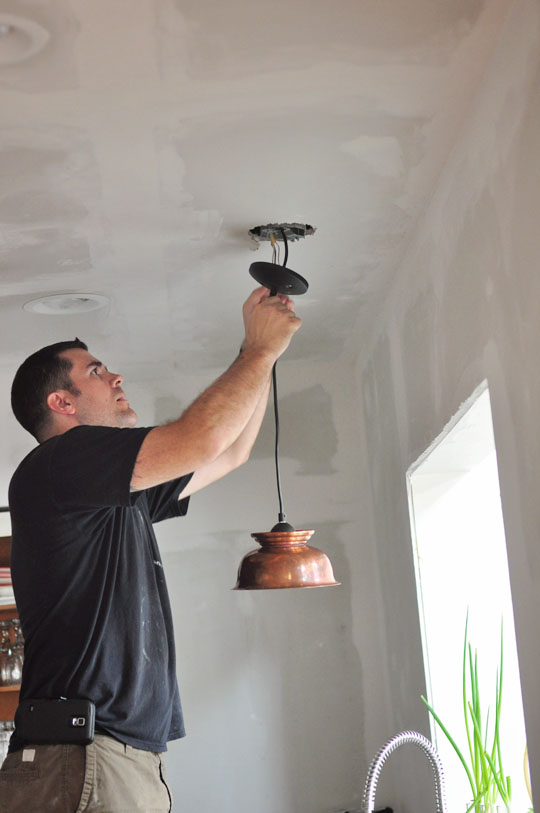
Then hold it up to make sure everything’s centered and tight.
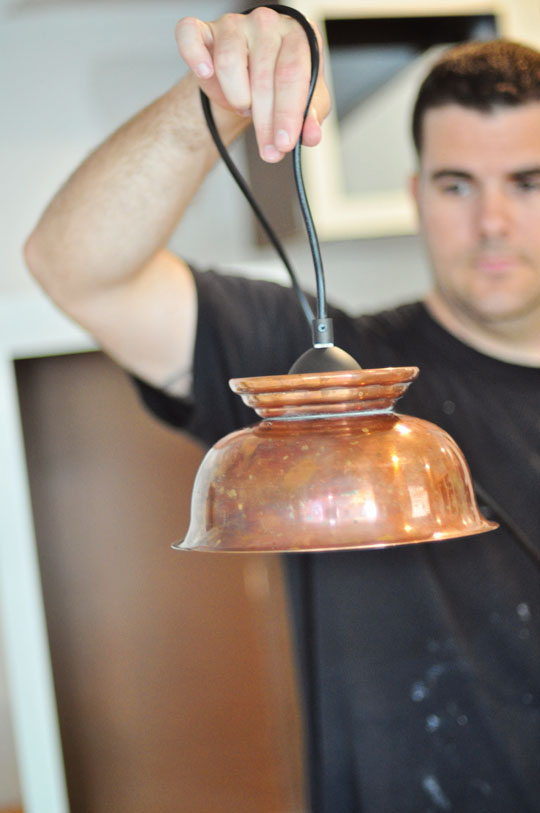
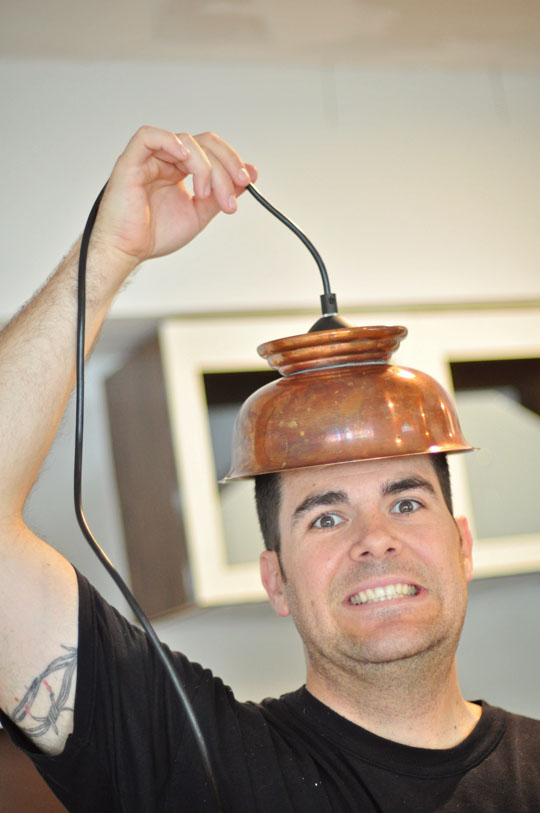
The man with lamp on his head asks that you not judge him for his barbed wire armband tattoo. It was done by a barracks buddy back when barbed wire armband tattoos were way cool, and we all know how that goes (see #5).
Finally, either hire an electrician, or turn off the breaker and cross your fingers that you or your significant other or your mom or whoever you’ve suckered into doing the dirty work knows what he or she is doing.
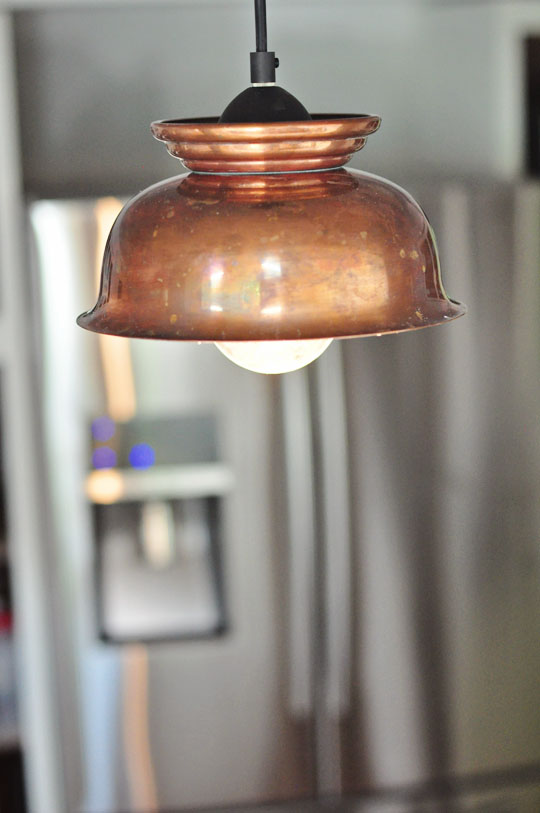
I really like how this turned out.
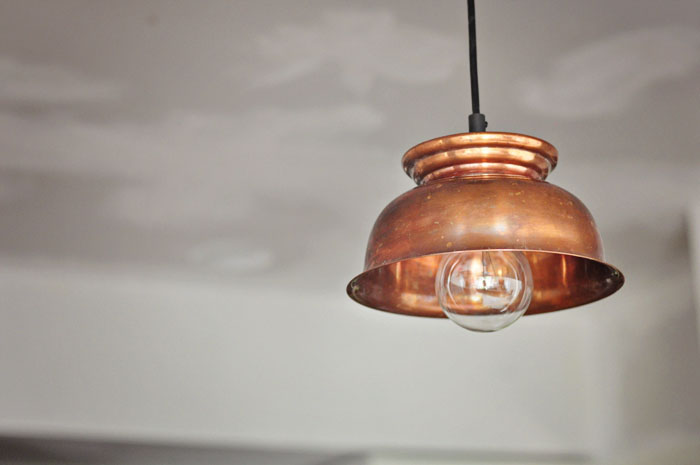
I can’t give you a whole-room view because that would be giving away too much of the doorless painted cabinets, but here’s a peek underneath:
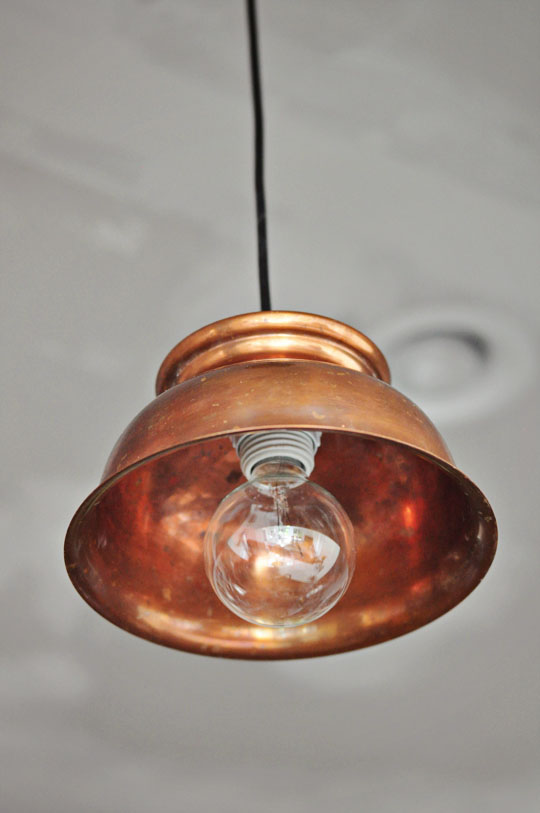
Oh, and it works, too.
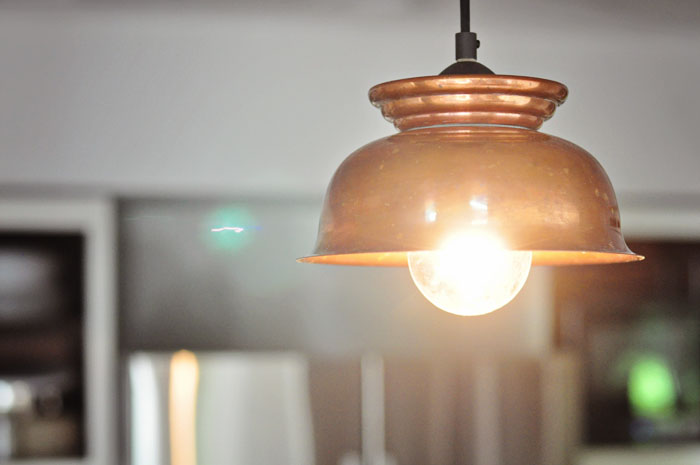
BONUS!
I’ll probably give it a good wipe-down before the next big kitchen reveal, but I’m worried about buffing out some of the cool patina.
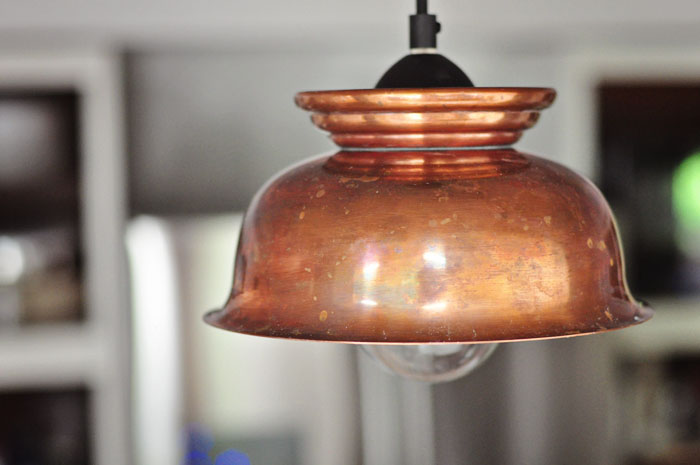
It might also look neat with an old-school Edison bulb instead of the globe I have in there now, so I’ll probably try that for the reveal.
I also have more good news.
It’s a giveaway!
I’m giving away TWO sets of four Gordon Ramsay pasta bowls in white by Royal Doulton® to TWO lucky readers.
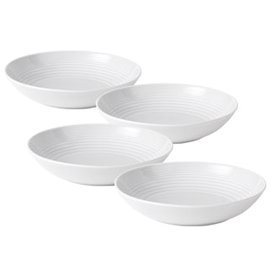
These dishes are the perfect size for serving up some homemade pasta with a big wedge of crusty bread to soak up the sauce.
And okay. I suppose you could use them for the store-bought stuff, too.

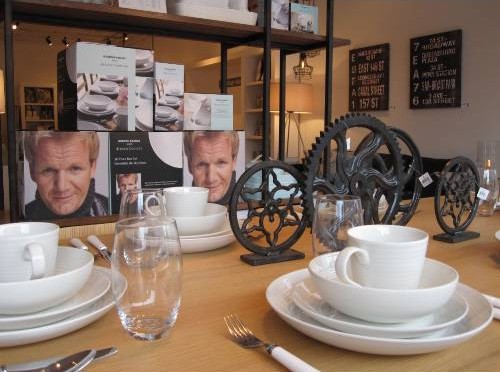
Hell. Looks like Gordon thinks you can even put salad in them, so there you go.
Anyway, they’re durable, dishwasher-safe, and look really pretty and classic with the entire set:
But this giveaway is a little different than normal.
I’m starting a new feature that will let me touch base with you via email. If you’re already signed up to read my blog posts through email you may have already received a confirmation request from me. This will allow me to switch you over to the new system. But you’ll also need to sign up for my email list below to enter the contest.
See, I want to send each of you an email every couple of weeks to let you know what’s been happening around here, but more important, to give you sneak peeks about what will be happening around here.
I’ve got some exciting news about some upcoming plans (hint: pasta bowls), and I might even sneak in a picture of the kitchen progress before anyone gets to see it here on the blog.
And because I’m not super technically proficient, we have a 2-step process for entering this giveaway:
1) Use this form (or the one that looks like it in my side bar) to subscribe to my bi-monthly email and get the inside scoop of what’s happening before I’ve had a chance to share it here:
2) Once you’ve confirmed your subscription (you’ll get an email), come back here and let me know using the Rafflecopter below. Once you confirm you’ve subscribed, there will be a few other ways you can add entries to increase your chances.
Unfortunately I can only ship to U.S. mailing addresses for this giveaway. But, if you don’t have a U.S. mailing address, it shouldn’t stop you from signing up! Either don’t enter the Rafflecopter portion or, if you do anyway and you win, I can send them to someone you know in the states.
This giveaway is sponsored by ME.
Rest-assured I will never sell, rent, or giveaway your email address. I just want to be able to get in touch with you a little more personally!

Comments
You can get a cavity under a filling? WTF! I think I have this! Shit shit shit. I hate the dentist so much. And I had plans to not go for nine months. But what if I have this and it’s just getting WORSE? You just ruined my day. I can’t even read the rest of your post. Oh my god, I’m so depressed. Ugh.
Funniest. Comment. Ever.
(And also, sorry. It’s true.)
That sort of thing would be a perfect replacement for the eyesore currently as one of our kitchen light fixtures…but I’m thinking a brushed silver/steel for us.
I bet you could find all kinds of decorative tin bowls that would work!
1. Sucks about the tooth probs. I’ve had plenty of my own and I know the misery all too well.
2. Very cool light! I love DIY projects :)
3. If I win these bowls (I’m feeling pretty lucky), I will officially own 4 dishes.
1. Ugh.
2. Thank you! I hope it will tie in nicely with everything else once it’s done.
3. Not a ton of entries so far — the odds might be good! :)
A friend of mine got an infection after she already had a root canal, and since the nerve was gone she couldn’t feel any pain, they only found it because of a routine x-ray. Now I am terrified that will happen to me.
Nooooo! Why do you tell me these things?! ;)
Totally sucks about the dental work. Also, I love Royal Doulton, if I could have all my dishes by them I would. :)
I hope you entered the contest, then! These bowls are really great. :)
I love what you did with the light, great DIY. I was going to do this with some blue jars I had in our kitchen but chickened out, I wish I would have now, it doesn’t look too hard (other then the electrical part)….but I have a handy neighbor for that.
You should totally do it!! Cutting the glass might be tricky… I bet it would be beautiful!
Lamp is gorg! Should we be worried about you driving alone from your grandparents house hopped up on Vicodin?
Ha! I haven’t actually cracked open the Vicodin. I’m not big on painkillers, and I’ve been doing okay with the occasional ibuprofen, as long as I resist super cold beverages and chewing on the right side of my mouth. Ugh.
Oh, it’s beautiful! I love your ingenuity. Love the tattoo story too, haha!
Aw, thanks m’dear!
[…] DIY Copper Pendant […]
[…] the cabinets and rearranged them to fit our needs; added hardwood floors, recessed lighting, and a DIY pendant light; installed new laminate counters; and did a million other things about which we’ll never […]
[…] There are only 40 entries so far on my giveaway, which means if you enter, you’re practically GUARANTEED to win one of the two sets of pasta […]