The Missing Link
How to Grout a Backsplash

How to Grout a Backsplash
How to Tile a Ceramic Backsplash (Part 3)
How to Install Door Trim
How to Hang a Wall Photo Gallery
How to Work with a Granite Fabricator
How to Save Money when Dealing with Contractors
Who knew?
Okay, well I guess I already knew that since doing the floor research for our kitchen (did you know they make cork flooring?)… and I suppose I’ve owned a bulletin board or two in my life. But really, up until recently, my favorite cork only came in a bottle.
A few weekends ago, however, I tried a fantastic DIY project I found over on YHL. That couple is so inspiring!
See, I’ve never been great at organization. Back in third grade, my teacher had to call my mom because I never brought in any homework and my parents never responded to any notes that went home. So my mother came into school with me one day to check my locker, and lo’ and behold! There, crammed into every nook and cranny of that small, metal space, was at least 7 months worth of homework, notifications, and permission slips.
It was my filing system – my filing system from whence nothing ever returned. I still utilize it today in some spaces.
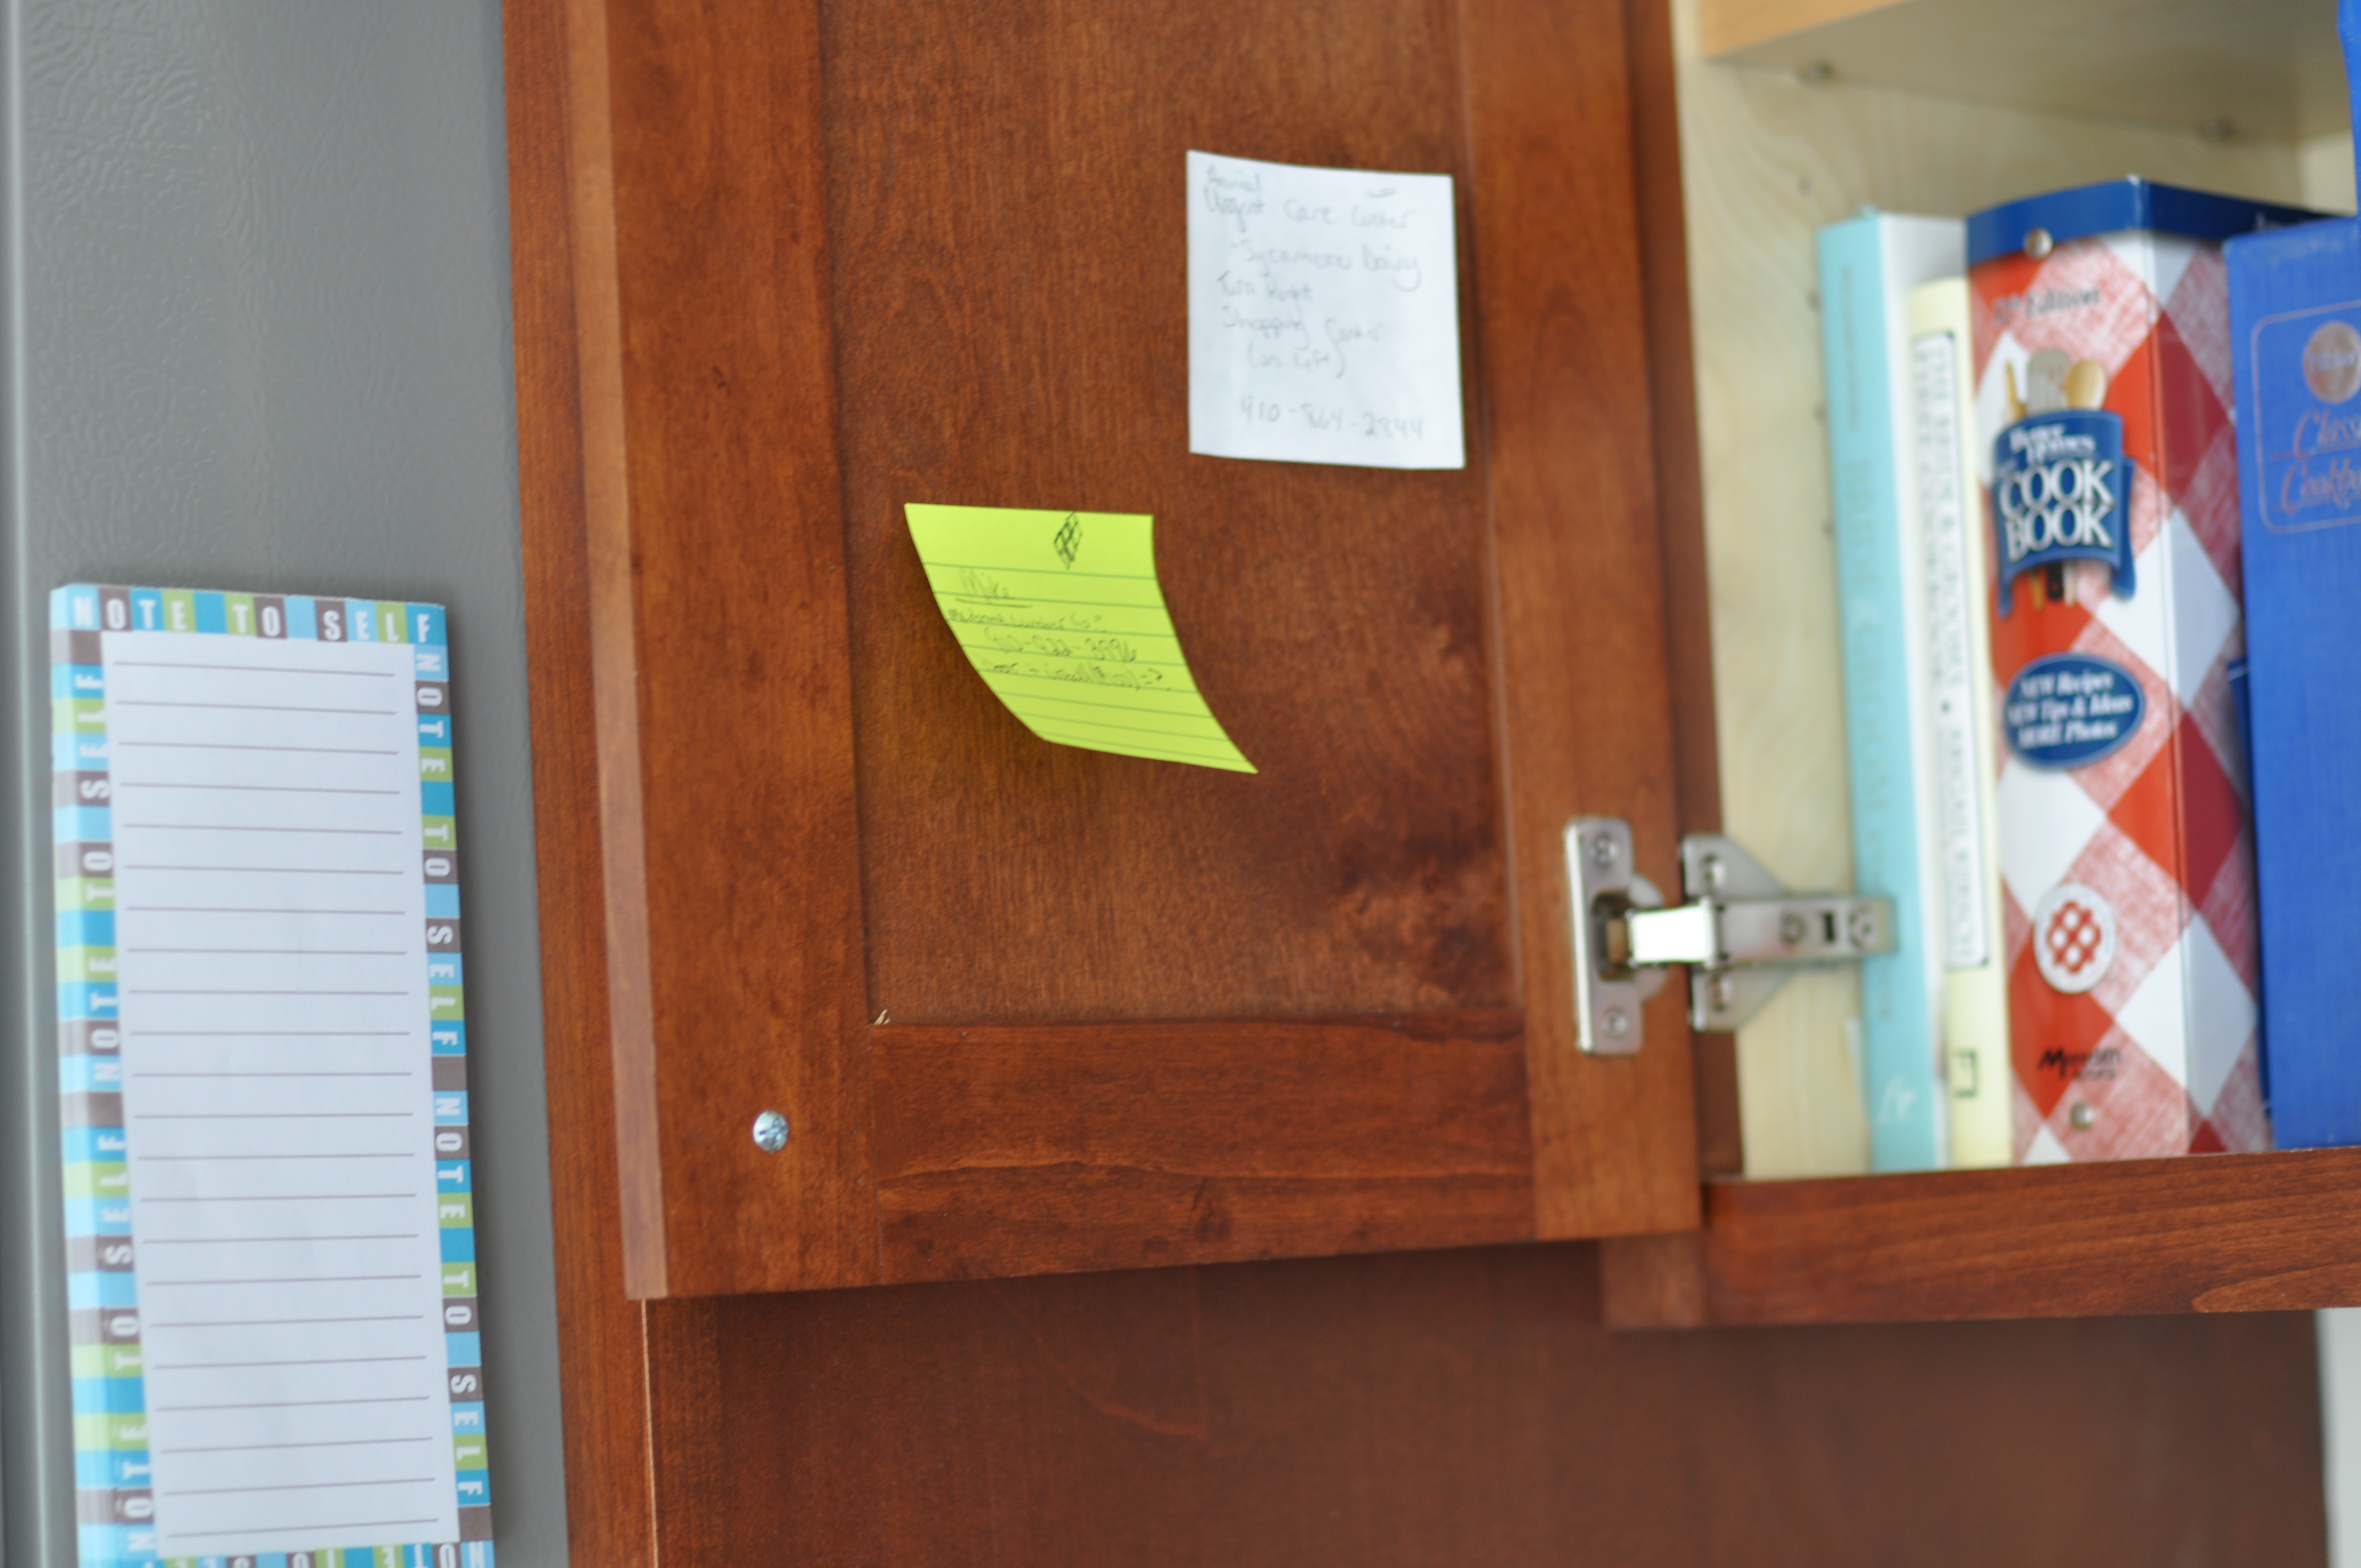
But I digress. Like I was saying, my kitchen was completely eschew with sticky notes strewn with phone numbers, favorite recipes stuffed in junk drawers, and shopping lists scattered about like so many dust bunnies.
Case-in-point (don’t worry, I’ll spare you the photo of my junk drawer):

Say “hi” to the cookbooks I never use!
Little did I know with this sticky-note-in-the-cabinet-door situation, I was very close to discovering the solution (if only I had been born a wee bit craftier).
Then YHL came into my life with their cabinet cork board.
This is so easy, my friends! I could still make it happen after 2 glasses of wine.
You will need:
12″ x 12″ Cork Tiles (I found mine at Target in the bulletin board aisle).

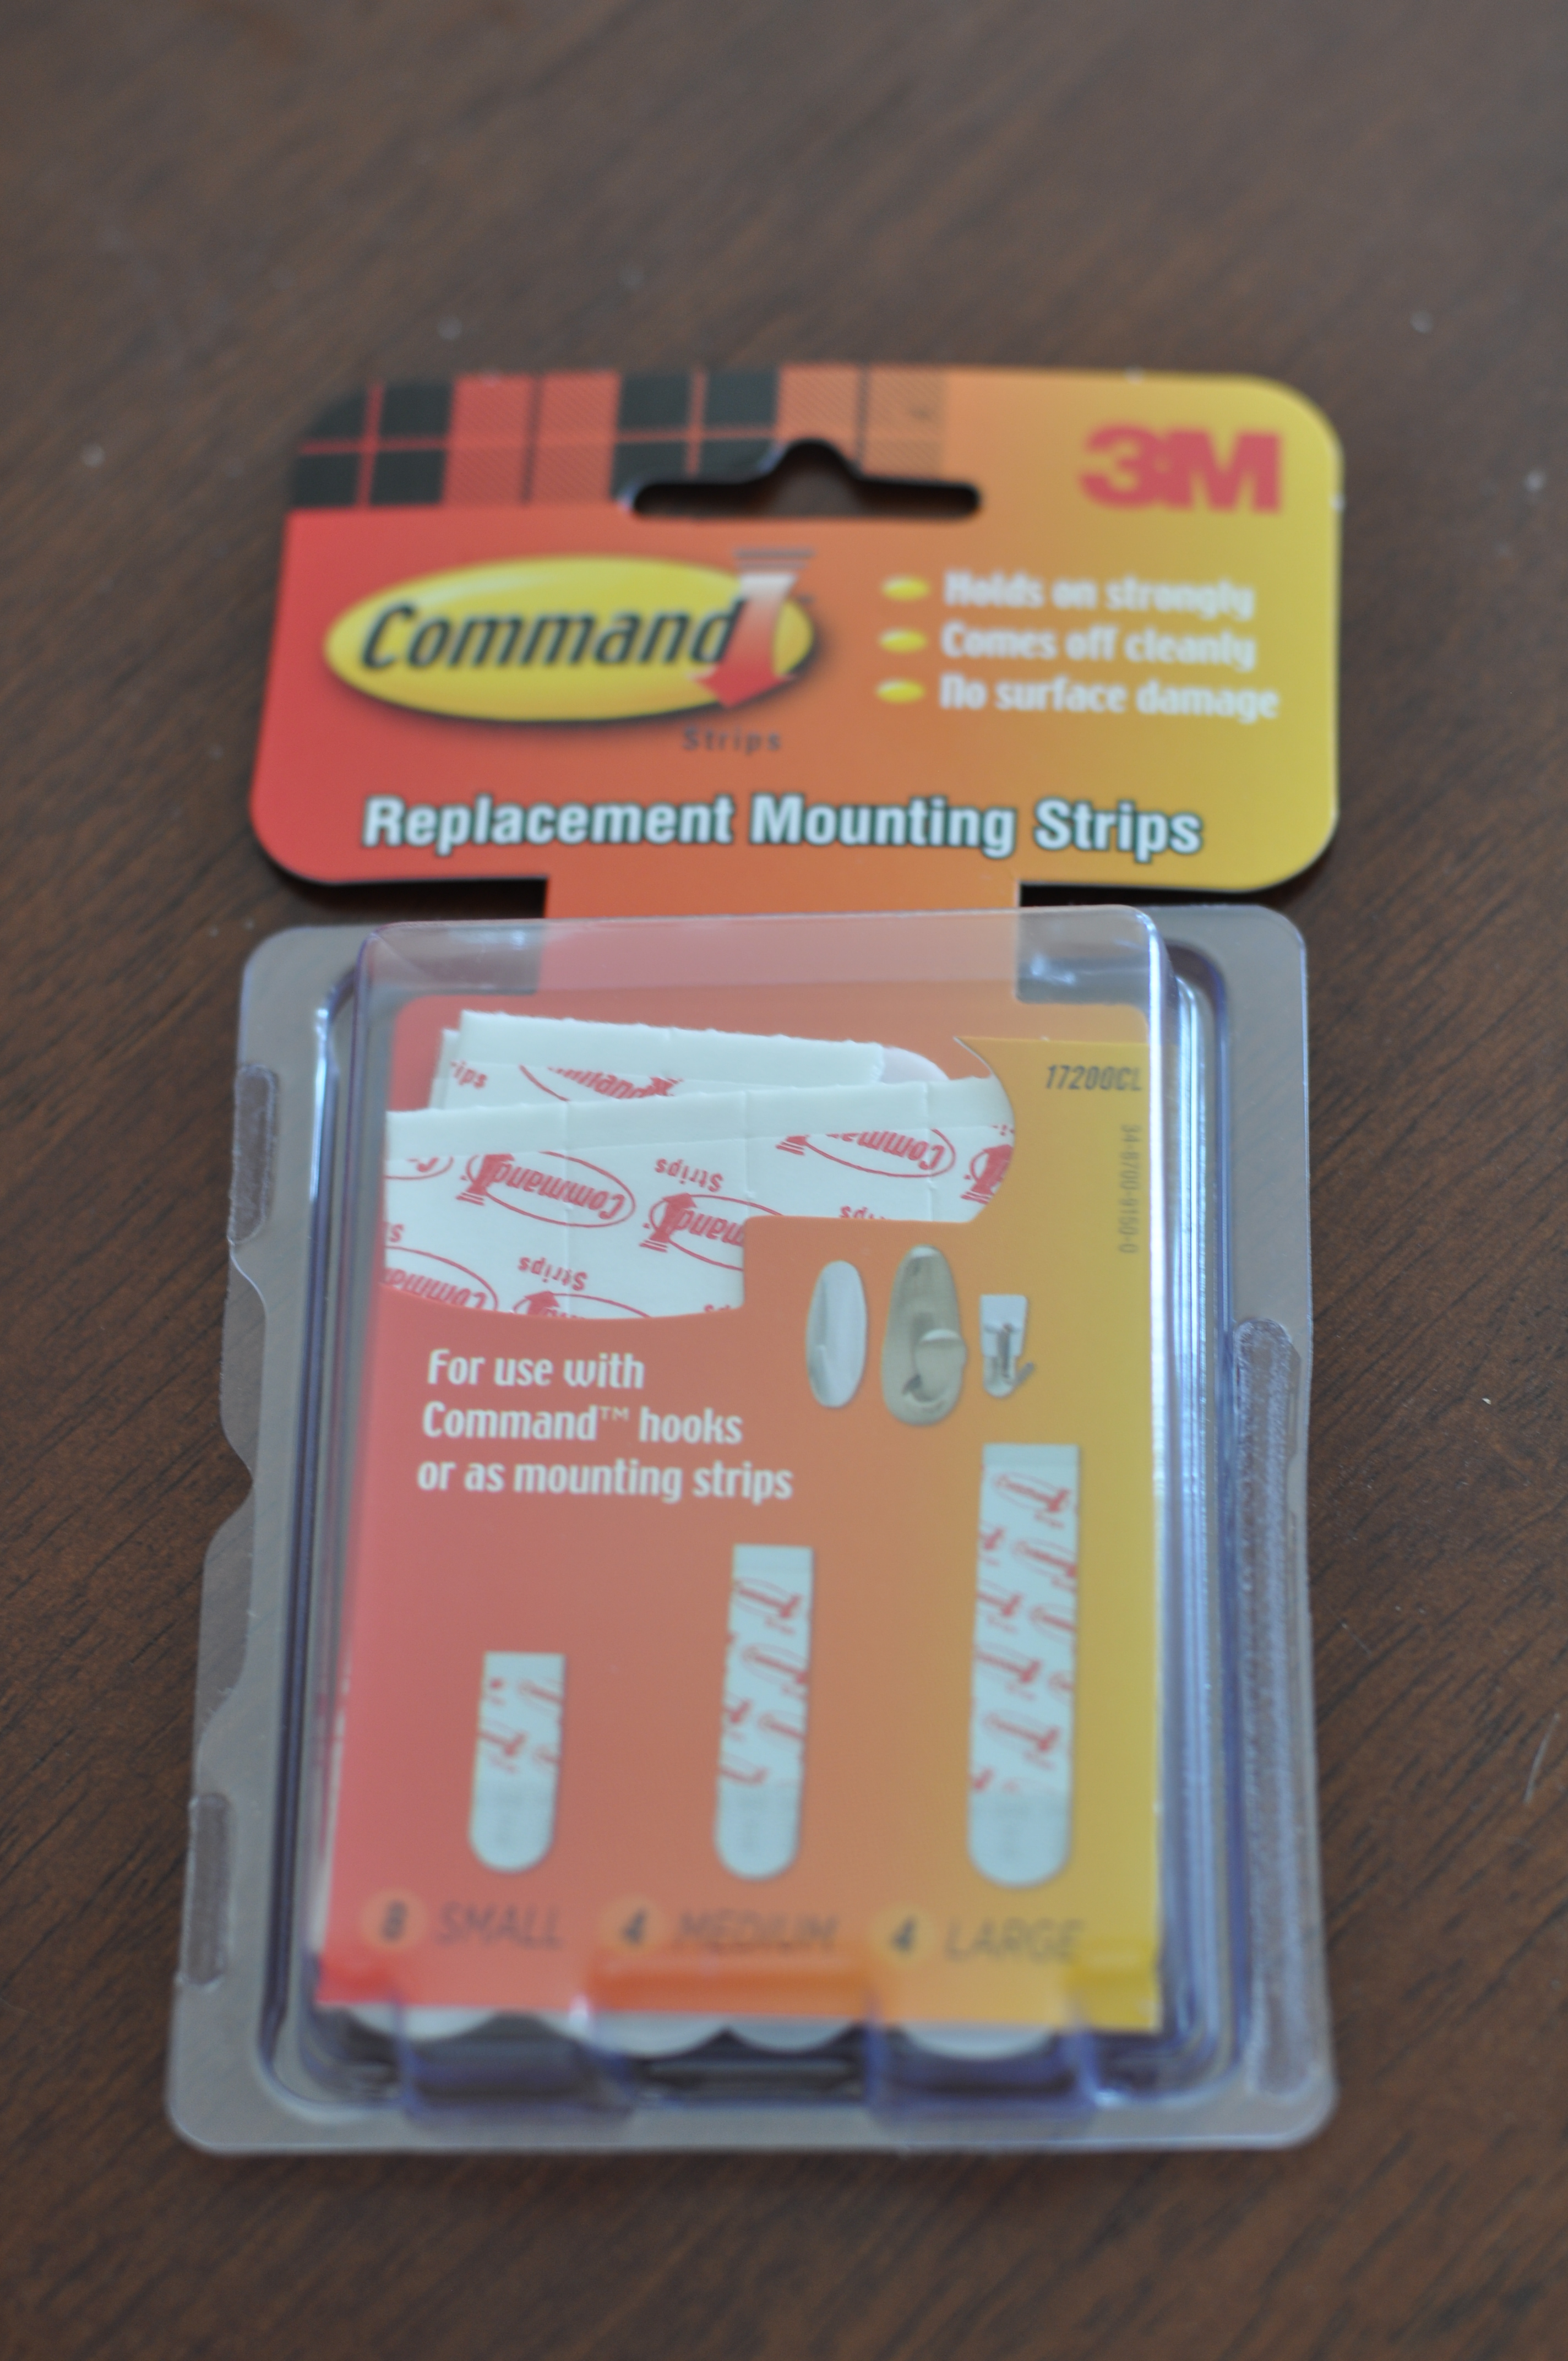
They come with the mounting tape, but I opted to use 3M Command Mounting Strips because, having used it before, I was positive I’d be able to remove the tiles if the mood struck without causing harm to my gorgeous alder cabinet babies.

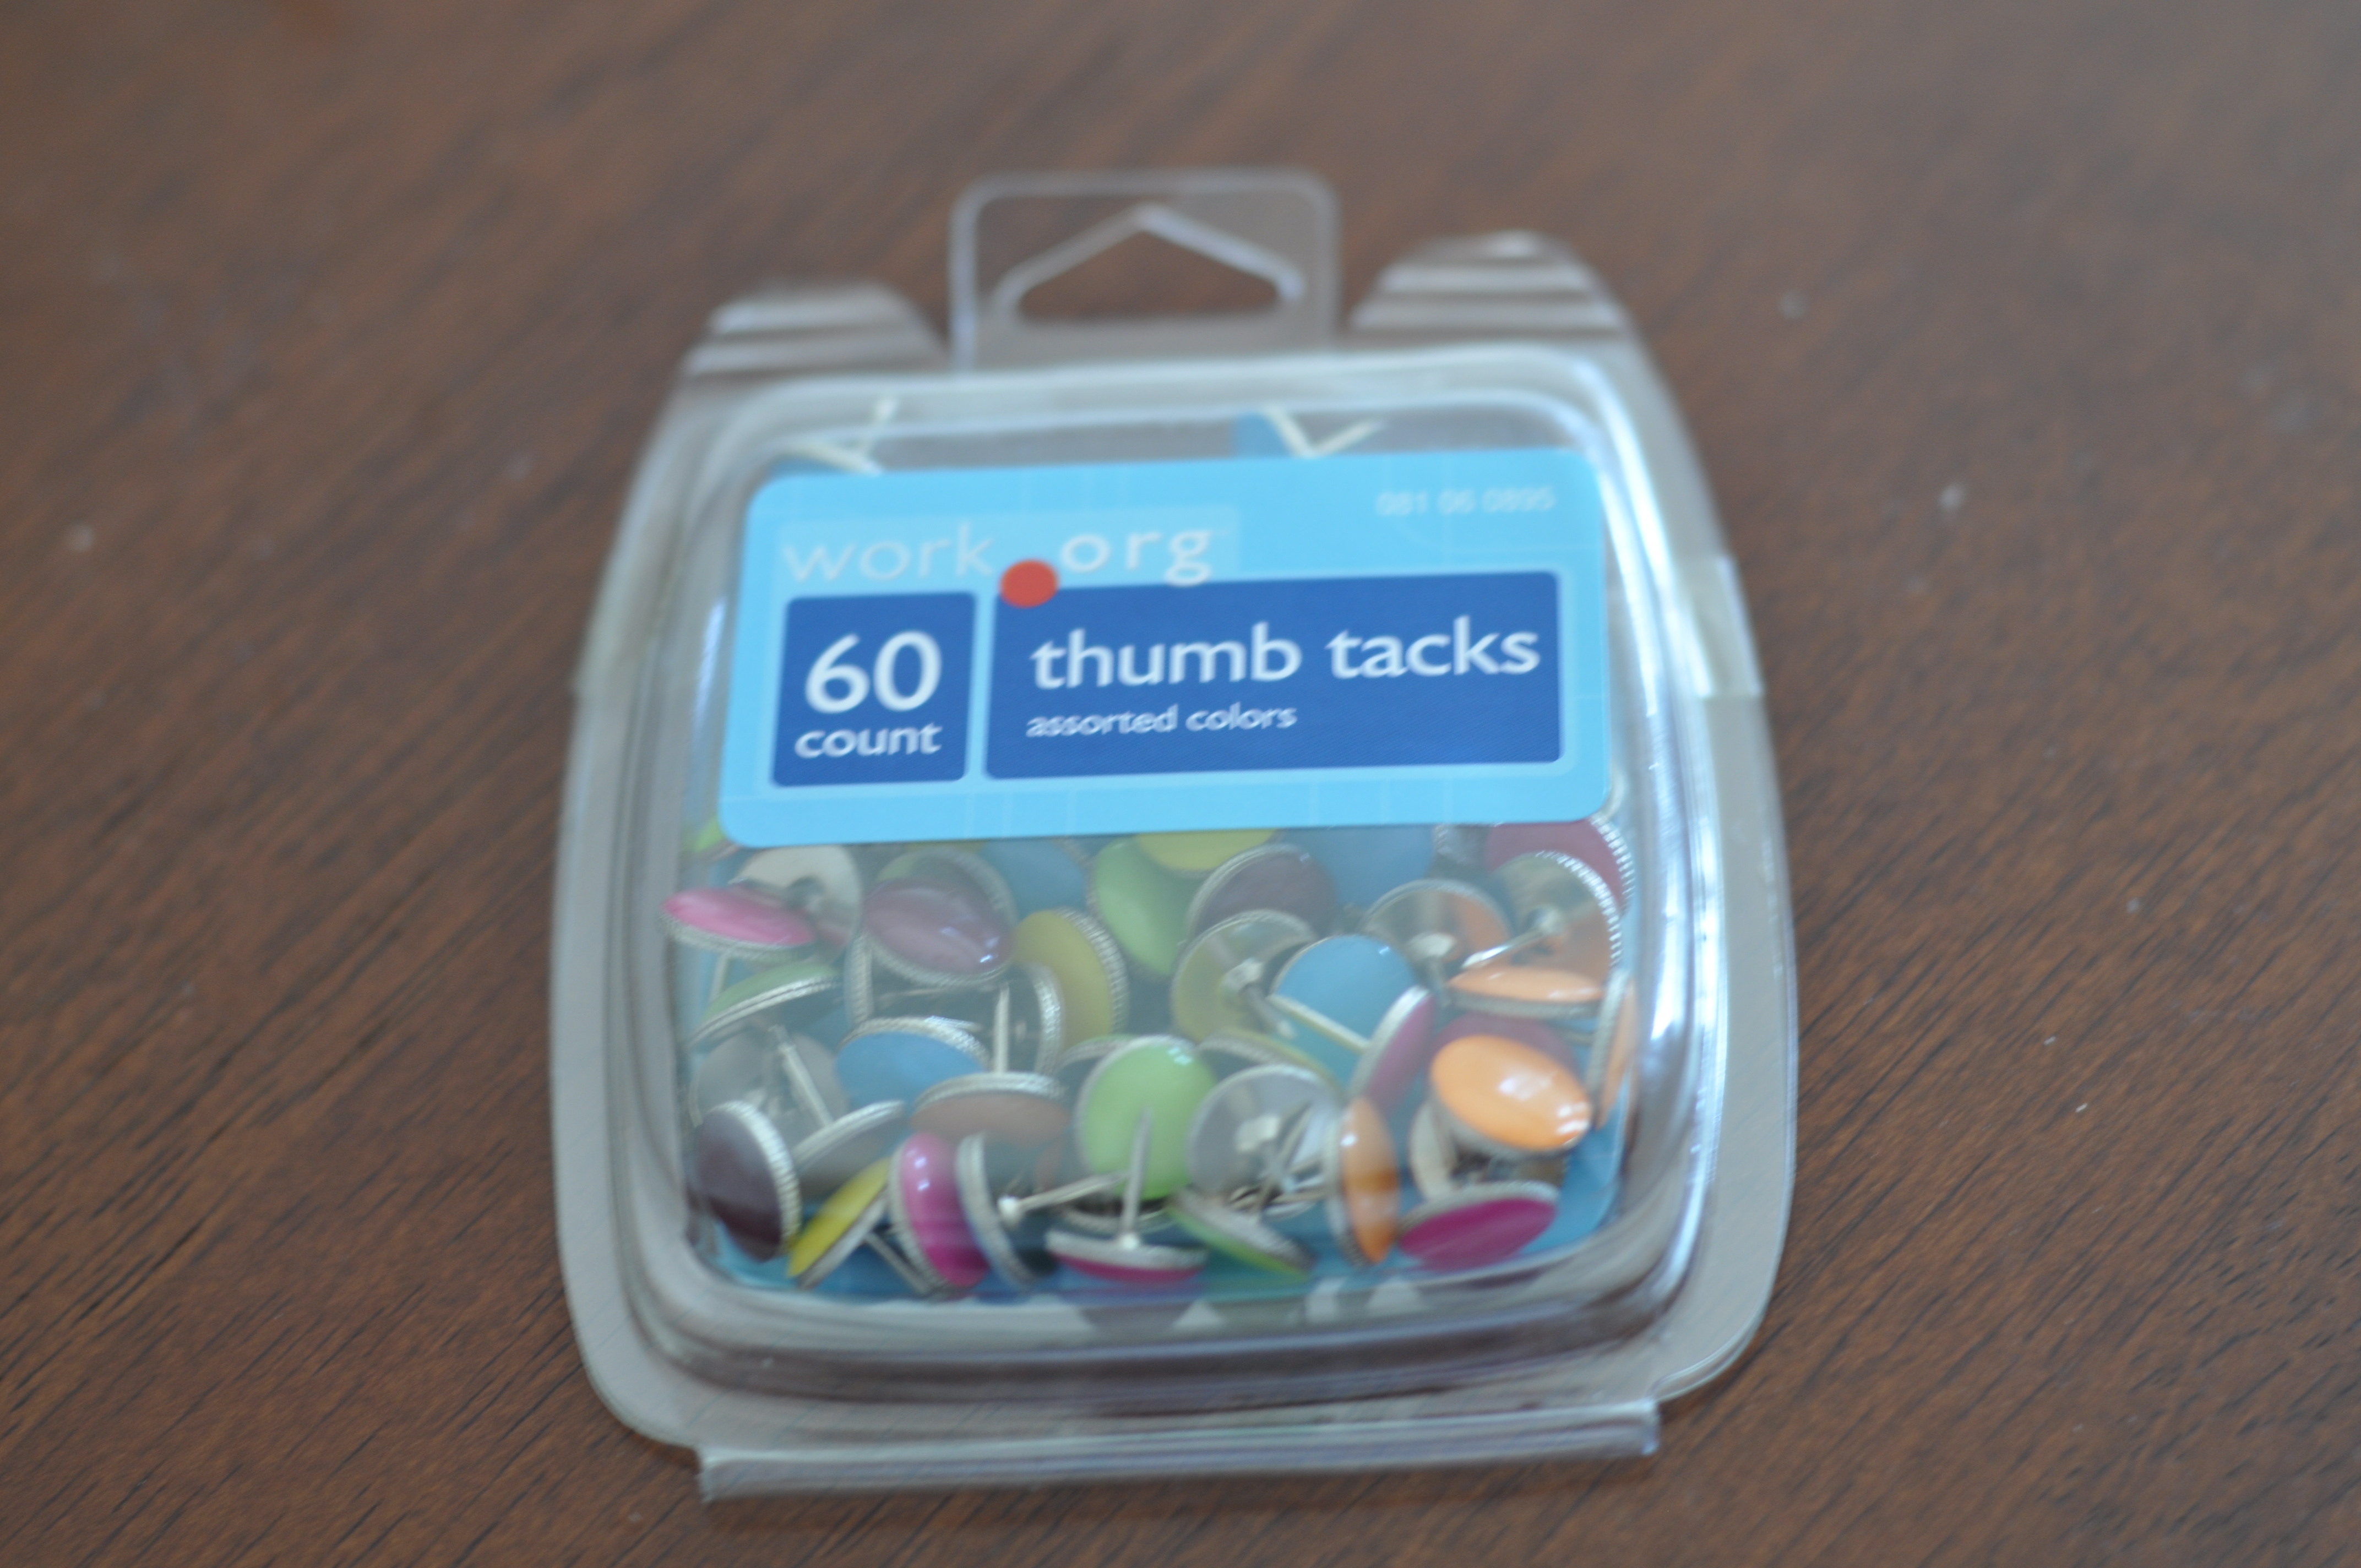
And, if you’re feeling extra frisky, go ahead and get yourself some colorful push pins. Sure, any plain-old tacks will do, but the colorful ones make me happy.

That’s it! That’s all you need to complete this incredibly inexpensive project.
Next, because I have a small indent inside my cabinet doors, I had to cut the tiles to fit inside. Simply measure the space in your doors, and then transfer that to the tiles. I had 8 1/4″ to work with, so I measured that distance across the top and bottom of one of my tiles and put a dot at each point.


Then I drew a line connecting the two dots.

Just cut along the line… and viola!

I put a piece of the command tape in each corner.
Testing it out…

I was originally going to fill the inside of the door in its entirety, but I ended up waiting to see if I could find something magnetic on which to stick my magnetic grocery list (see the side of the fridge in the first picture). Unfortunately, after no such luck, I had to improvise.
*Note: I’m sure I could’ve found some type of sheet metal, but I didn’t care to work with the sharp edges (let’s face it – I’m lucky the hubs trusts me with the scissors). They also sell magnetic strips at various places, but my objective was CHEAP, so those were a no-go. I did actually find these really cool magnetic pin board tile thingies at Target in the same section as the cork tiles, but they were significantly more expensive (and not as easy to hang without causing damage).
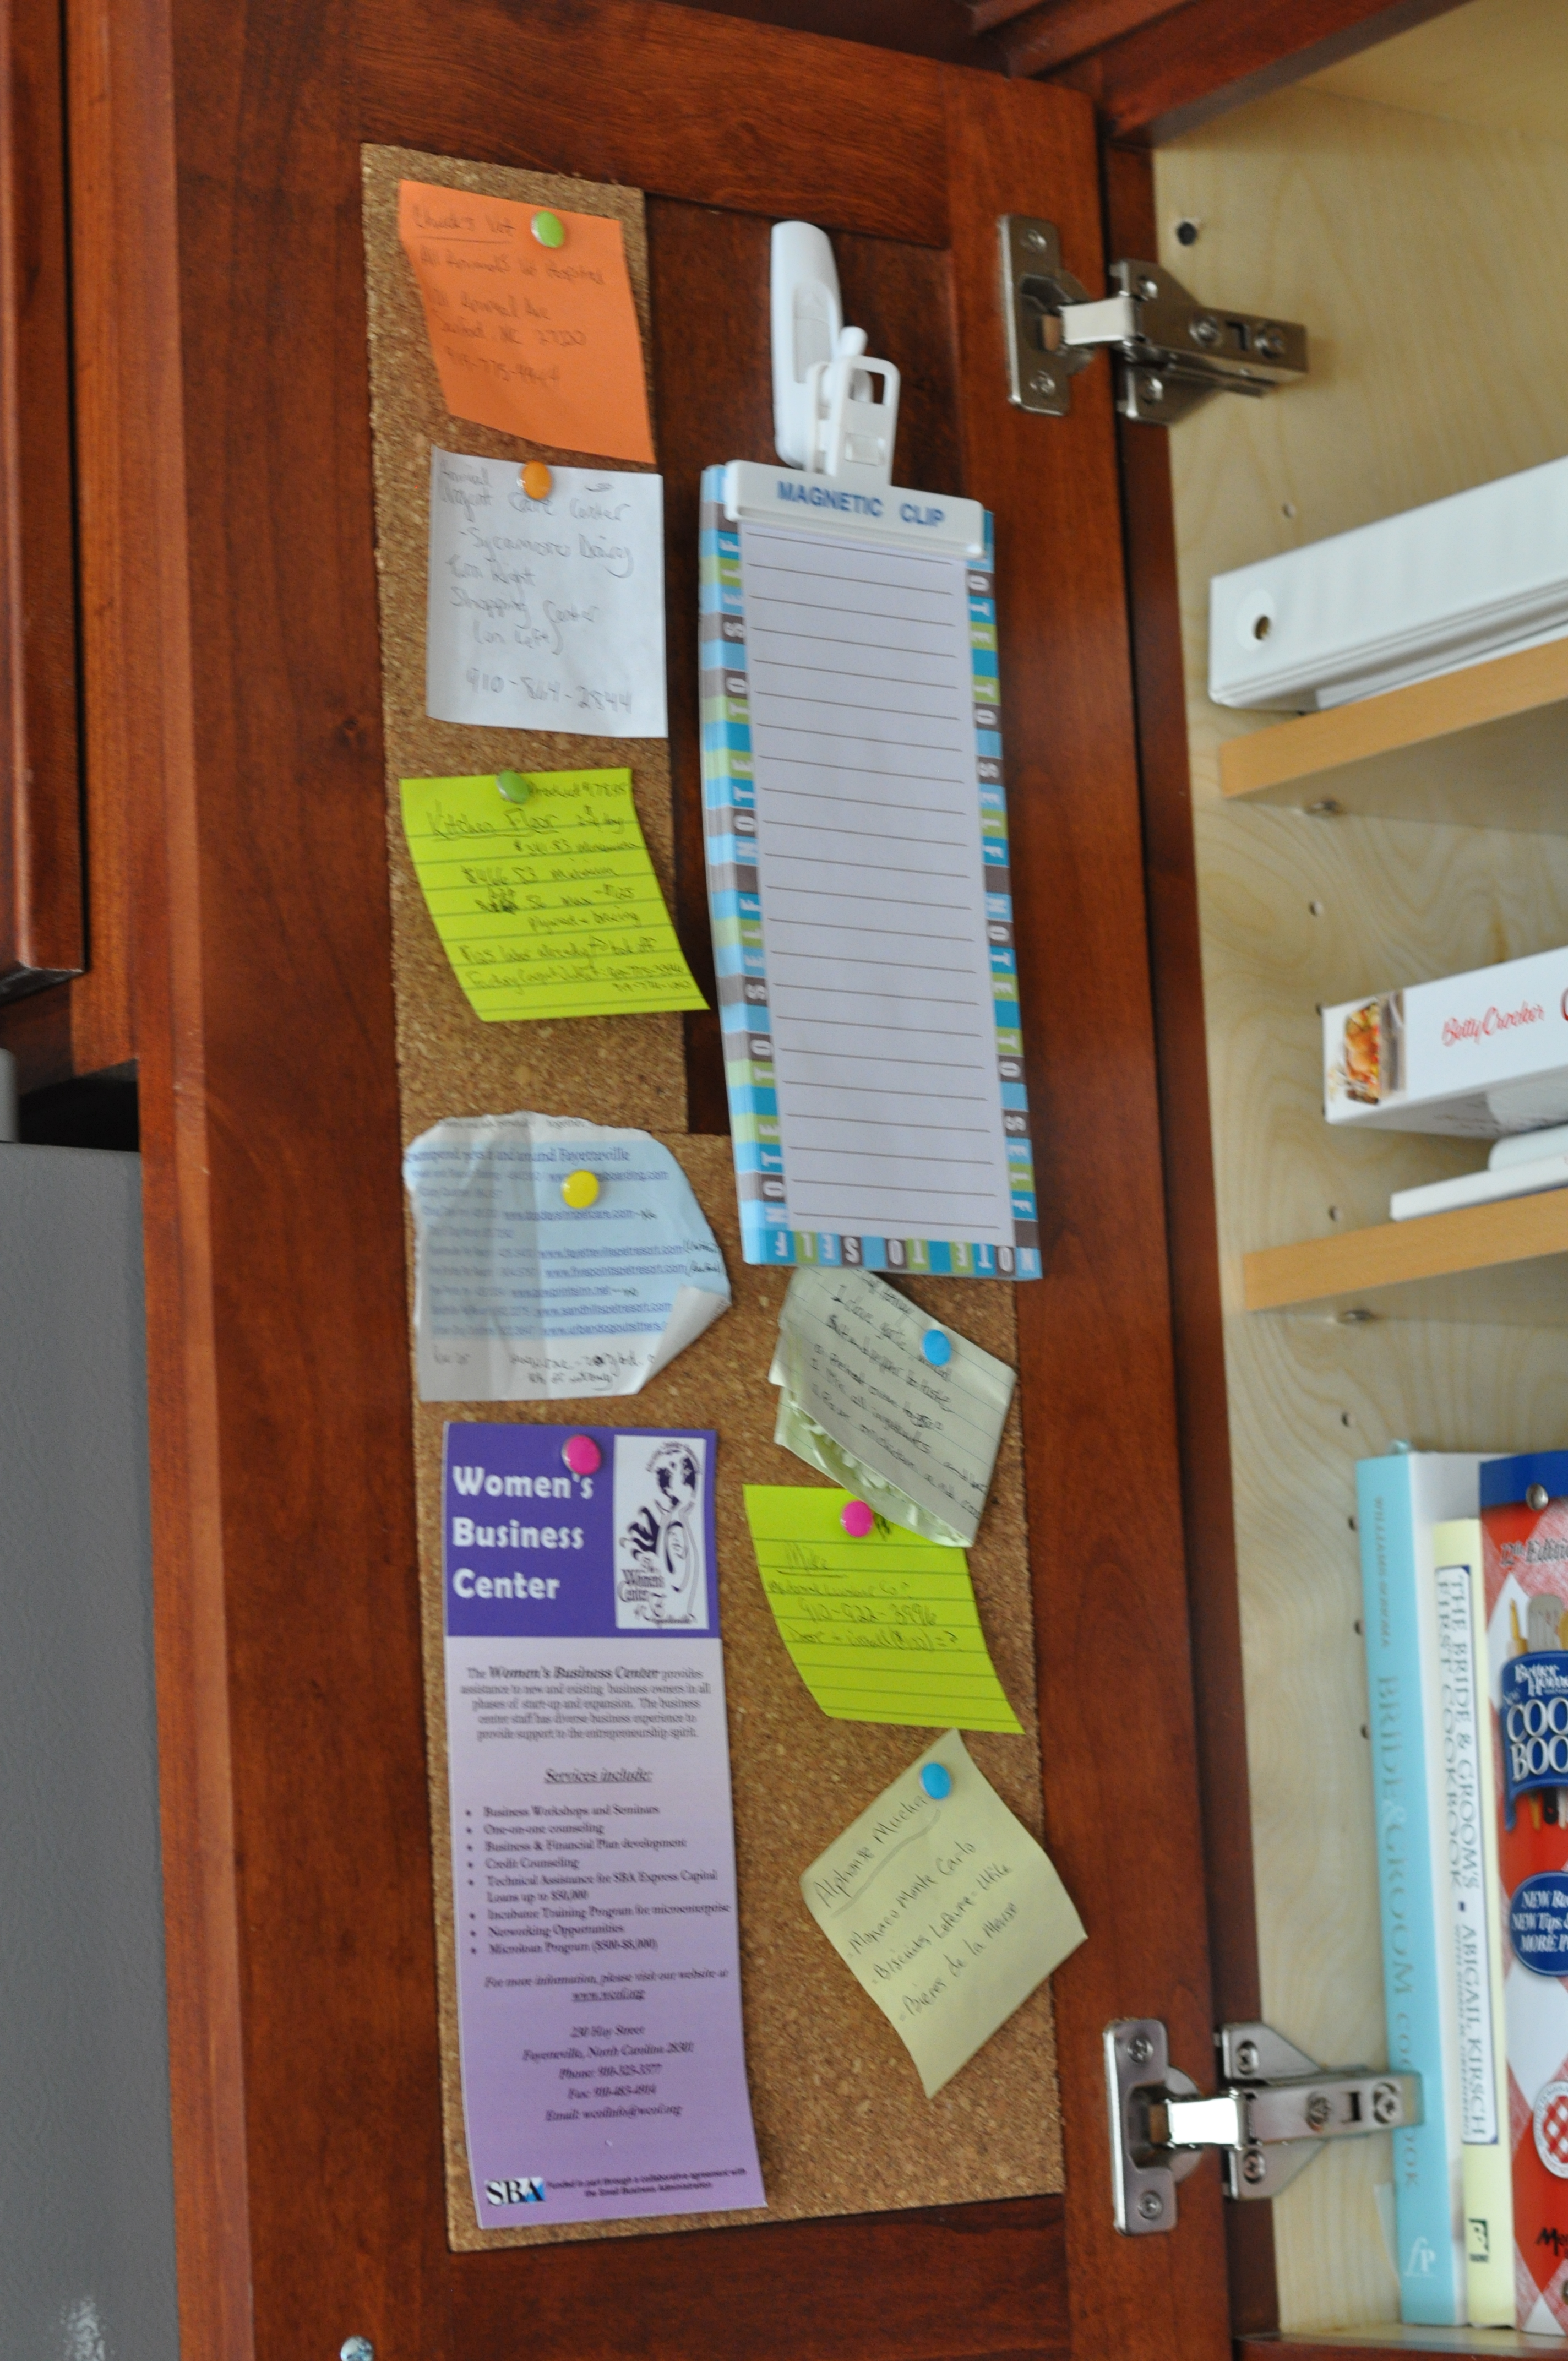
SO, I ended up with this:

I’m not sure I’m crazy about the whole shopping list-clipped-to-the-chip-clip-hanging-from-the-3m-command-hook look. It’s just not as neat and tidy as the one over on YHL. Maybe I’ll turn the whole thing into a cork board, if I ever get back around to it. The great thing is that for around $5, I was able to get 5 cork tiles!
Anyone know what I should do with the rest?
How to Choose Kitchen Appliances
How to Plan a Functional Kitchen Layout
How it Looked on Moving Day (Part 2)