Getting a little R&R
Rest and Relaxation? Definitely not. Not after my browser decided to eat my post and I had to start all. Over.
Nope, this “R&R” stands for Rant and Recipe. Because that’s what I’m sharing today. Feel free to skip on down to the recipe (it’s really good) if you don’t want to read the rant. I won’t mind. Promise.
A fellow blogger and online friend Dennis, creator of Musings on Life and Love, called me out on something in my “Defining Domestiphobia” post the other day. He basically pointed out that I sure do a lot of cooking (and home renovations, and crafty projects) for someone who’s a self-professed Domestiphobe.
And, if you didn’t read my post extremely carefully, you might be wondering the same thing: Why all the cooking if I’m Domestiphobic? It seems kind of counterintuitive. And you (and Dennis) would be right.
It’s not what you would expect.

But here’s where I feel like I need to explain a little something about myself. I don’t like to be told that I can’t do something – that there’s a particular goal or challenge or achievement that’s beyond my reach. Cliché as it sounds, it’s just a fact.
Don’t get me wrong – I know my limits. I know I’m not going to ever play for the WNBA or become a famous singer. There’s a difference between natural talent and learned skills. It’s the same reason I know I will never cook at a Michelin star restaurant. I’m just not that good.
Like I’ve said before, I’m a follow-specific-instructions-and-hope-everything-comes-out-edible kind of girl. And I certainly don’t create the recipes myself.
But I like cooking. So I cook. Simple as that. I used to be afraid of it, then it became a challenge, and then I started enjoying it. And if you’re still wondering how that can be possible for a Domestiphobe, the reality is that it falls in with my goals quite nicely:
1. Cooking helps me “tie together the things I’m fortunate enough to have” (family, nice kitchen, drive to learn) “…with the things I’m crazy enough to want” (new skills, variety in my life, experience new foods).
2. Not only is cooking a valuable skill to have, it expands my knowledge of world cuisine. While I’d love to taste ethnic foods by traveling all over the world eventually, cooking at home makes it so I don’t have to wait.
3. Cooking is therapeutic. Instead of going home from my old job, ordering takeout, and plopping my ass in front of the television, I chose a recipe before I left work, picked the ingredients up from the store on the way home, poured myself a glass of wine and turned on the tube or the tunes, made the dinner, and then plopped my ass in front of the television. I still unwind this way at the end of many days, even though I no longer have the 9-5. I even do this when Justin’s out traversing the world with the military. I do it for me.
4. I like food. I like to know what’s in my food. I’d like it to be relatively healthy. And, when it’s not (which is quite frequent), at least I can control the amount of additives, preservatives, hormones, steroids, etc. that are going into the individual ingredients. If I’m eating something that I know is going to congeal in my arteries, I at least what to be able to pronounce what’s congealing in my arteries.
So, with that long-winded introduction, I have a recipe for you today. It’s one of my favorites EVER. Spinach Feta Quiche.
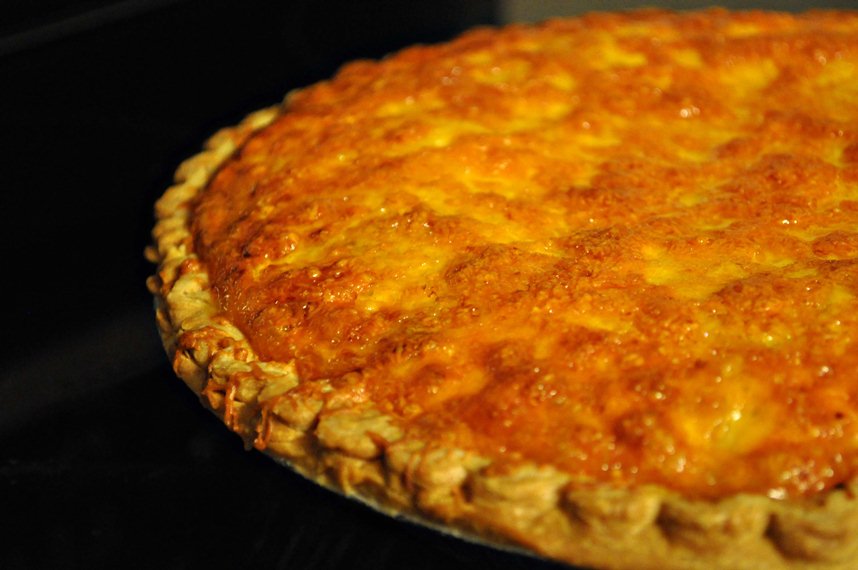
I know quiche sounds fancy if you’ve never made it before, but it’s just a savory (aka. not sweet) pie with some fillings and egg thrown in. Even those of you who say you can’t cook (I’m talking to you, IWOM) can make this quiche.
It will definitely impress any people you whom you try making it.
Unless they don’t like cheese, sautéed mushrooms, or spinach. In which case, you’re probably better off without them. (The people, not the mushrooms.)
The original recipe is here. I change the seasonings a bit and use fresh mushrooms instead of canned, but otherwise it’s not too different. You will need:
- 1/2 cup butter (I know… but butter is good for the soul.)
- 3-5 cloves garlic, chopped (The recipe calls for 3, but you know how I feel about garlic: go big, or go home.)
- 1 small onion, chopped
- 1 (10 oz.) package frozen spinach, thawed and drained (I cut a slit in the plastic and microwave it for a couple of minutes until soft, then I squeeze the plastic bag to drain all of the liquids.)
- 1 container fresh mushrooms, washed and sliced (The recipe calls for a 4.5 oz. can of mushrooms, but why would you do that when you could have the aroma of fresh mushrooms sautéing in butter floating around your house?)
- 1 (6 oz) package herb and garlic feta (I can never find this, so I buy plain feta and throw in some Italian seasonings)
- Italian seasonings (optional)
- 8 oz. shredded Cheddar cheese (The recipe calls for the pre-shredded stuff, but I prefer to buy a block and shred it myself.)
- 1 (9 inch) deep, unbaked frozen pie crust
- 4 eggs, beaten
- 1 cup milk
- Salt and Pepper to taste

1. Preheat your oven to 375-degrees F.
2. Melt the butter in a large skillet over medium heat. Sauté the garlic and onion in the melted butter for a couple of minutes. Add the sliced mushrooms (if you’re using fresh mushrooms) and sauté for 3-5 more minutes, until the onions are soft.

At this point, your house will be filled with one of the best aromas you could possibly create. Take a step back, enjoy a sip of your wine (or beverage of choice), and bask in it for a minute.
This is why you try to cook. You can’t buy this smell.
3. Stir in the spinach, mushrooms (if you’re using canned mushrooms), feta cheese, and just 1/2 cup of the Cheddar cheese (don’t worry – you’ll use the rest soon). Also add whatever seasonings you plan on using.
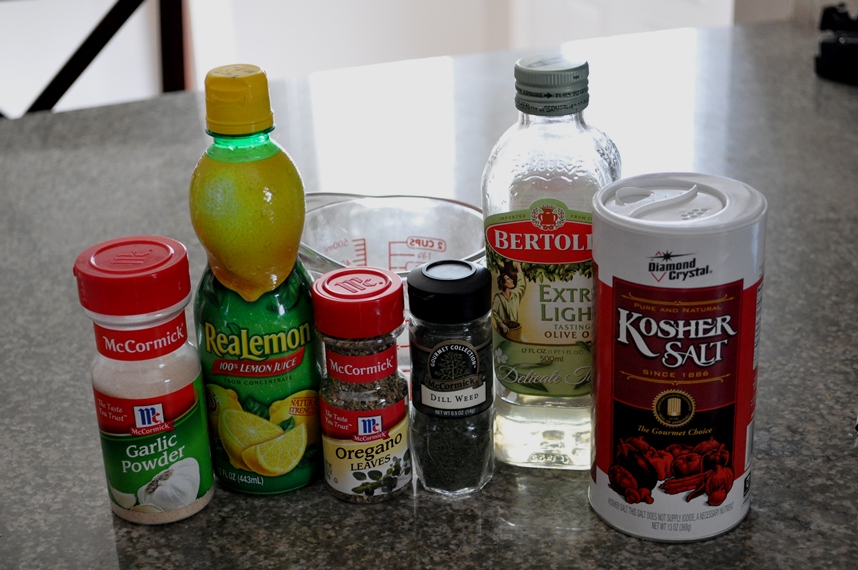
This last time, I used these:


4. Spoon the spinach mixture into your frozen pie crust.
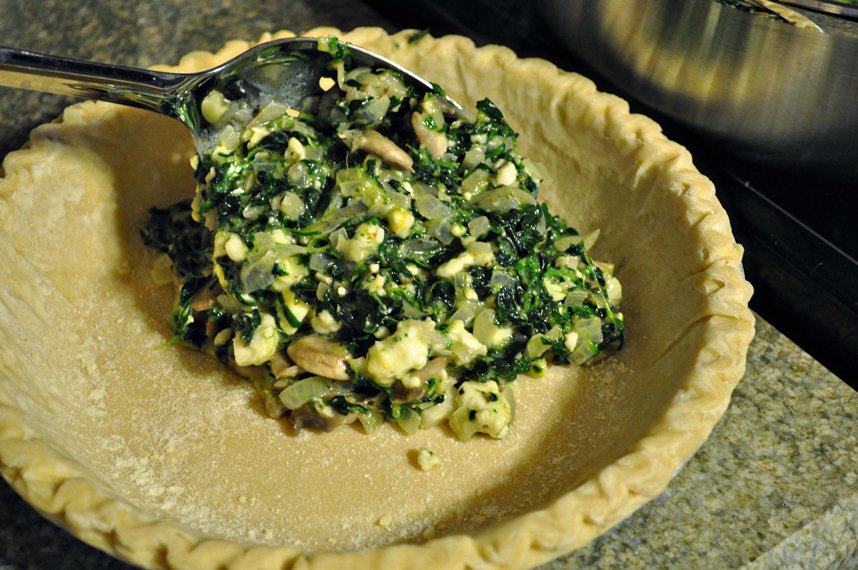
5. In a separate bowl, whisk together the 4 eggs and 1 cup of milk. You can use a fork if you don’t have a whisk. Season with salt and pepper. Pour as much of the egg mixture into the pie shell as you can, moving the spinach filling around with a fork to create “holes” where the egg mixture can seep in. You probably won’t have room for all of the egg mixture, so just pour in as much as you possibly can.

6. Now. This is the only difficult part of the entire recipe (unless you decided to make your own pie crust for some crazy reason). VERY carefully, transfer the quiche to the oven. It’s a little nerve-wracking because it’s flimsy, and liquidy, and very near spilling all over your floor or the inside of your oven, but you can do this. I have faith.

7. Bake it for 15 minutes so it starts to set up. Then take it out and add the rest of the Cheddar cheese.

It seems like a lot of cheese. That’s because it is a lot of cheese. And it’s delicious.

8. Bake for an additional 35-40 minutes until you can insert a toothpick or knife into the center and it comes out clean. Then let it stand for 10 minutes (if you can stand it) before cutting and serving!
*If the crust or the cheese starts to burn while it’s baking but the center still isn’t cooked, just cover the top with foil until it finishes cooking.

The cheddar forms a soft “crust” on top of the quiche, which is absolutely outstanding. I didn’t take a picture of my piece that night because it somehow ended up in my stomach before I could pick up the camera, but I did get a shot the next day:
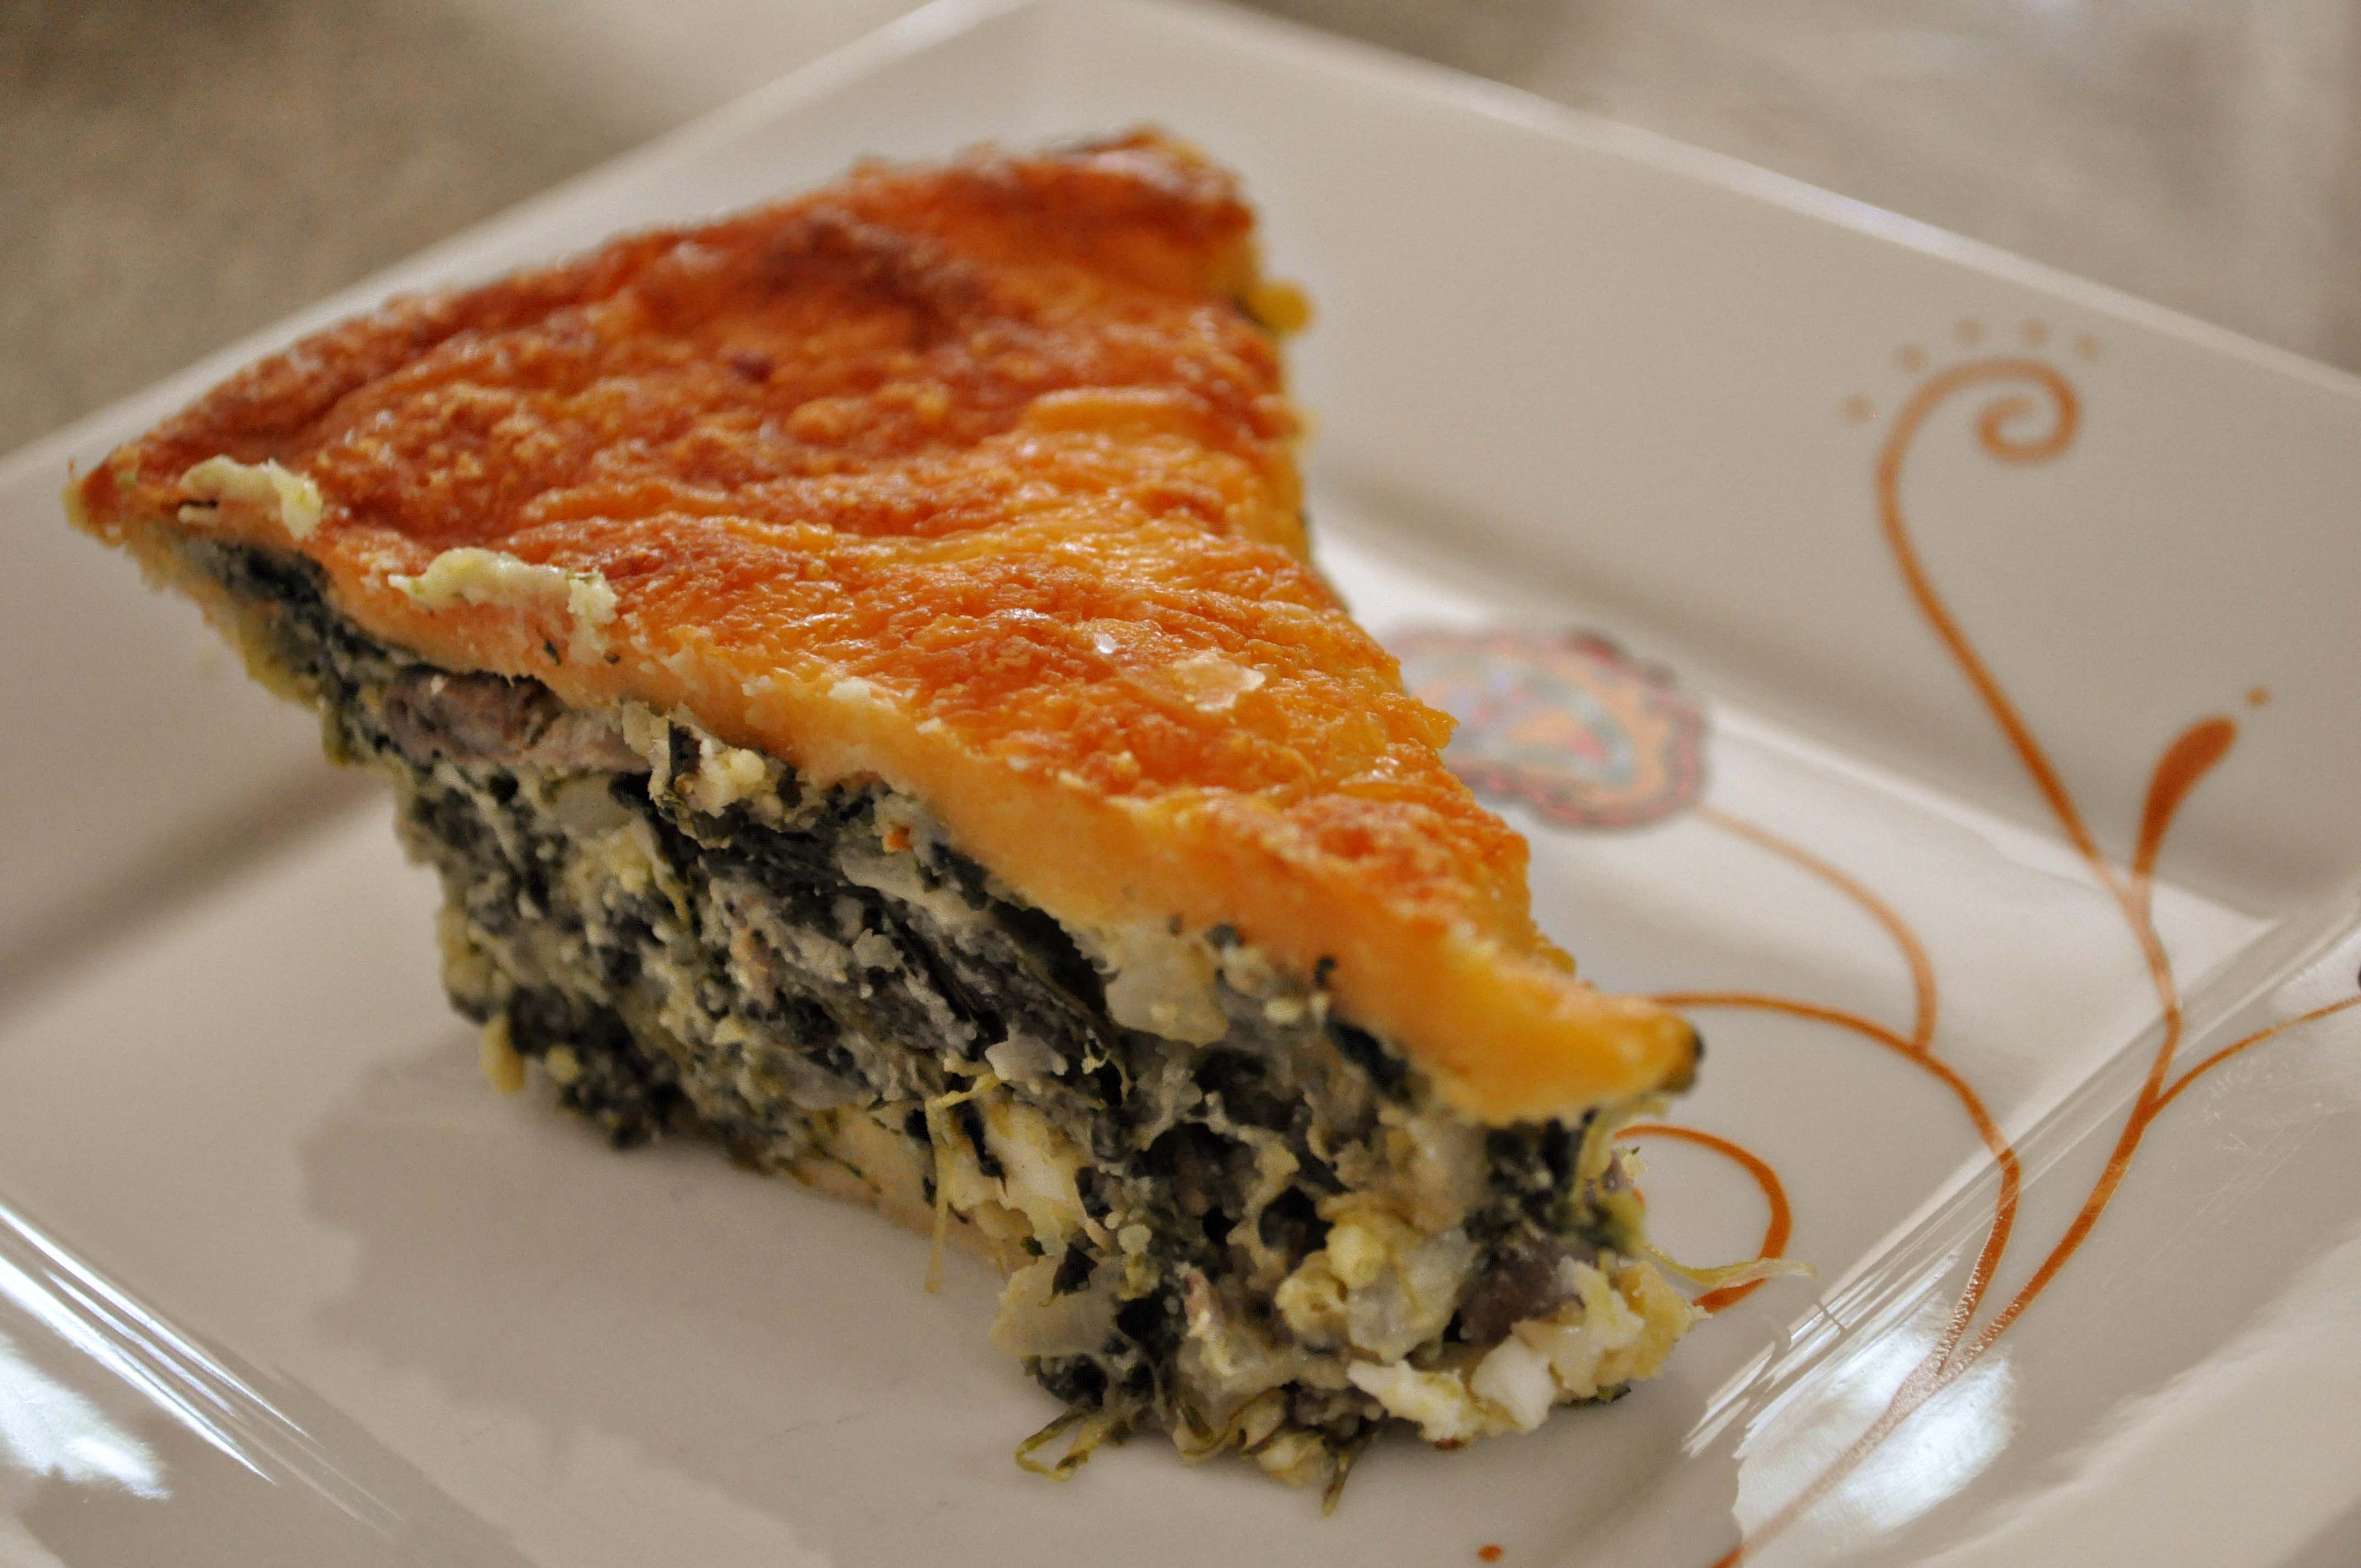
It’s excellent re-heated, and it’s one of my all-time favorite dinners. Or lunches. Or breakfasts.
It doesn’t really matter when you eat it, just as long as you eat it.


